Hi everyone, it’s Tina here. Today I am sharing a card using the new After The Rain dies with the Double Stitched Rectangles die and the Say It With Words Stamp Set. Below is the steps to create your own card.
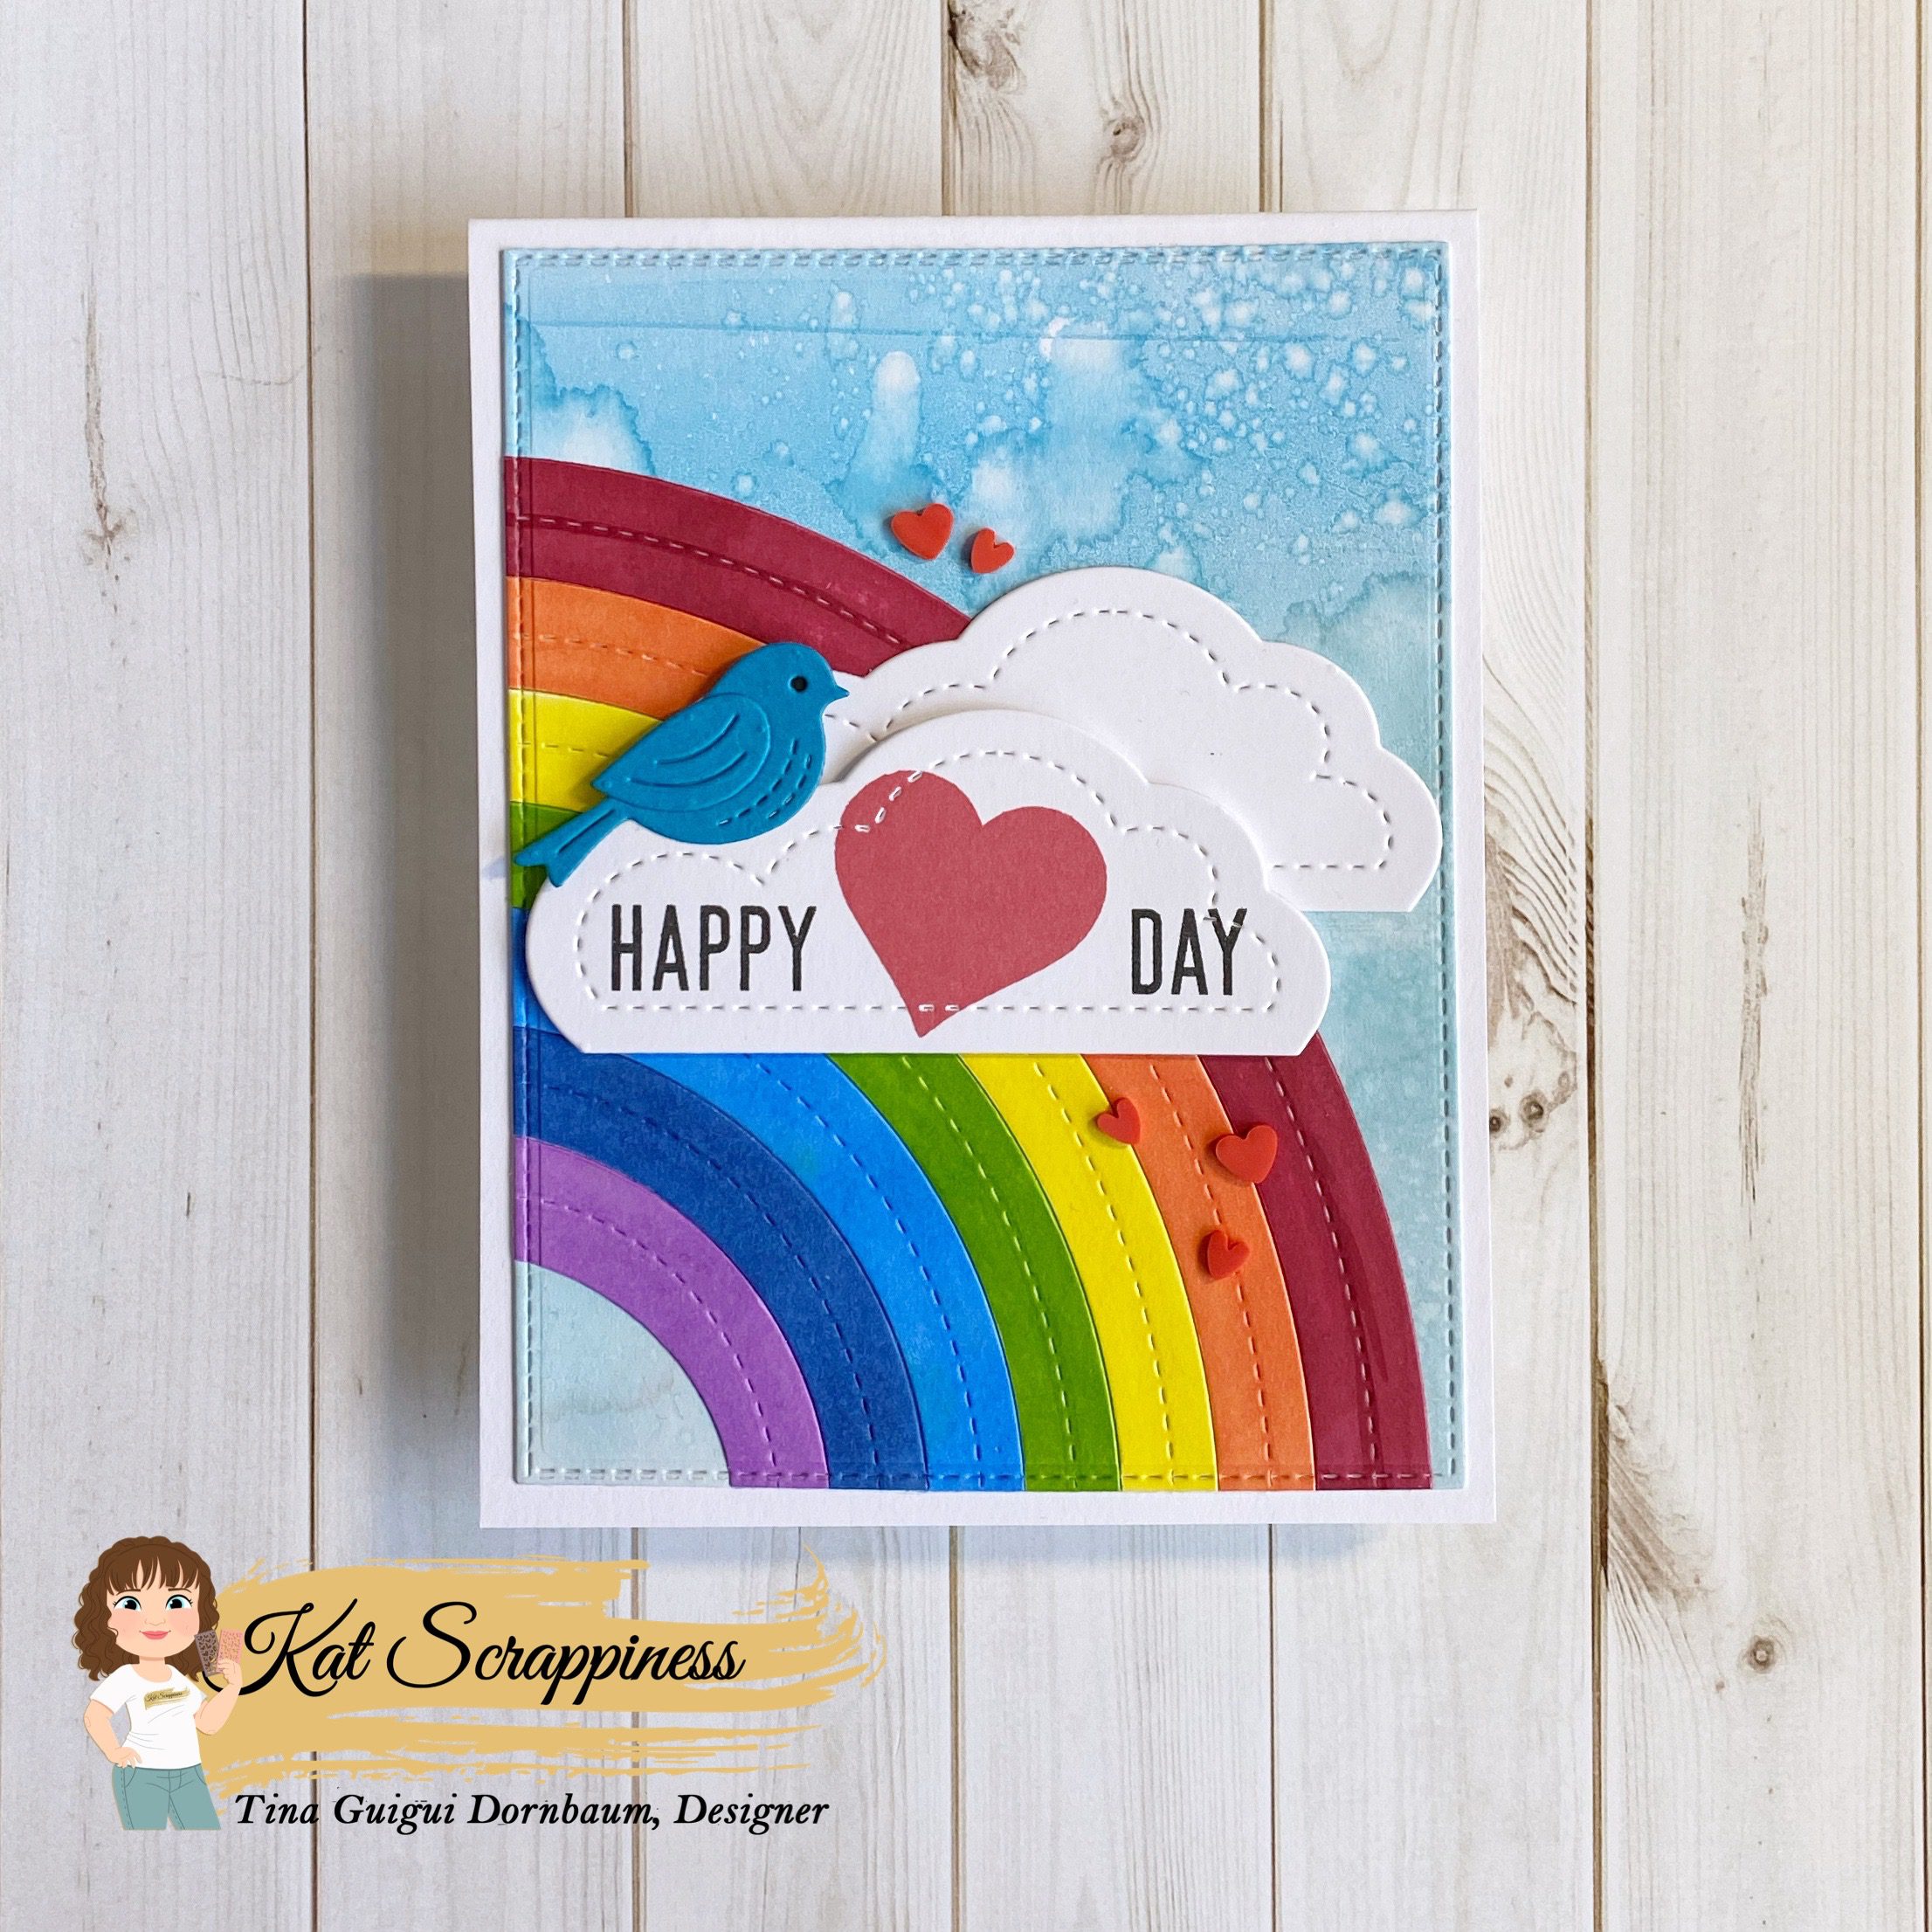
Step 1 – Trim White Cardstock to 8 1/2” x 5 1/2”, score at 4 1/4” and fold in half for a vertical side fold card. (A2)
Step 2 – Create a DIY background using a Gel Press. Trim White Cardstock to 5 1/2” x 4 1/4”. Apply Distress Oxide Inks in Tumbled Glass, Broken China, Salty Ocean onto a Gel Press. Mix the colors with a brayer. Splash some water and place the Cardstock onto the Gel Press and then a copy paper. Add pressure to make sure the ink transfers onto the Cardstock. Remove Cardstock and let dry.
Step 3 – Diecut Double Stitched Rectangles using the panel created in Step 2. Adhere to card using Nuvo Deluxe Adhesive.
Step 4 – Diecut After The Rain (rainbow layers) using White Cardstock. Color in each rainbow layer in the colors of the rainbow using Alcohol Markers. I used Spectrum Noir Classique Markers. Adhere to card front using Nuvo Deluxe Adhesive.
Step 5 – Diecut After The Rain (clouds 2 times) using White Cardstock. Stamp one cloud with Say It With Hearts using Versafine Onyx Black Ink. I did a little stamp surgery to Happy Valentine’s Day by placing Washi tape over the word Valentine’s. I inked the stamp using Versafine Onyx Black Ink and removed the Washi tape and then stamped. Stamp the Heart using Red Ink. (This replaces the word Valentine’s).
Step 6 – Diecut or Stamp an image of a small bird and adhere just above the cloud.
Step 7 – Optional – Randomly adhere Red Heart Sprinkles using a Pick Up Tool and Nuvo Deluxe Adhesive.
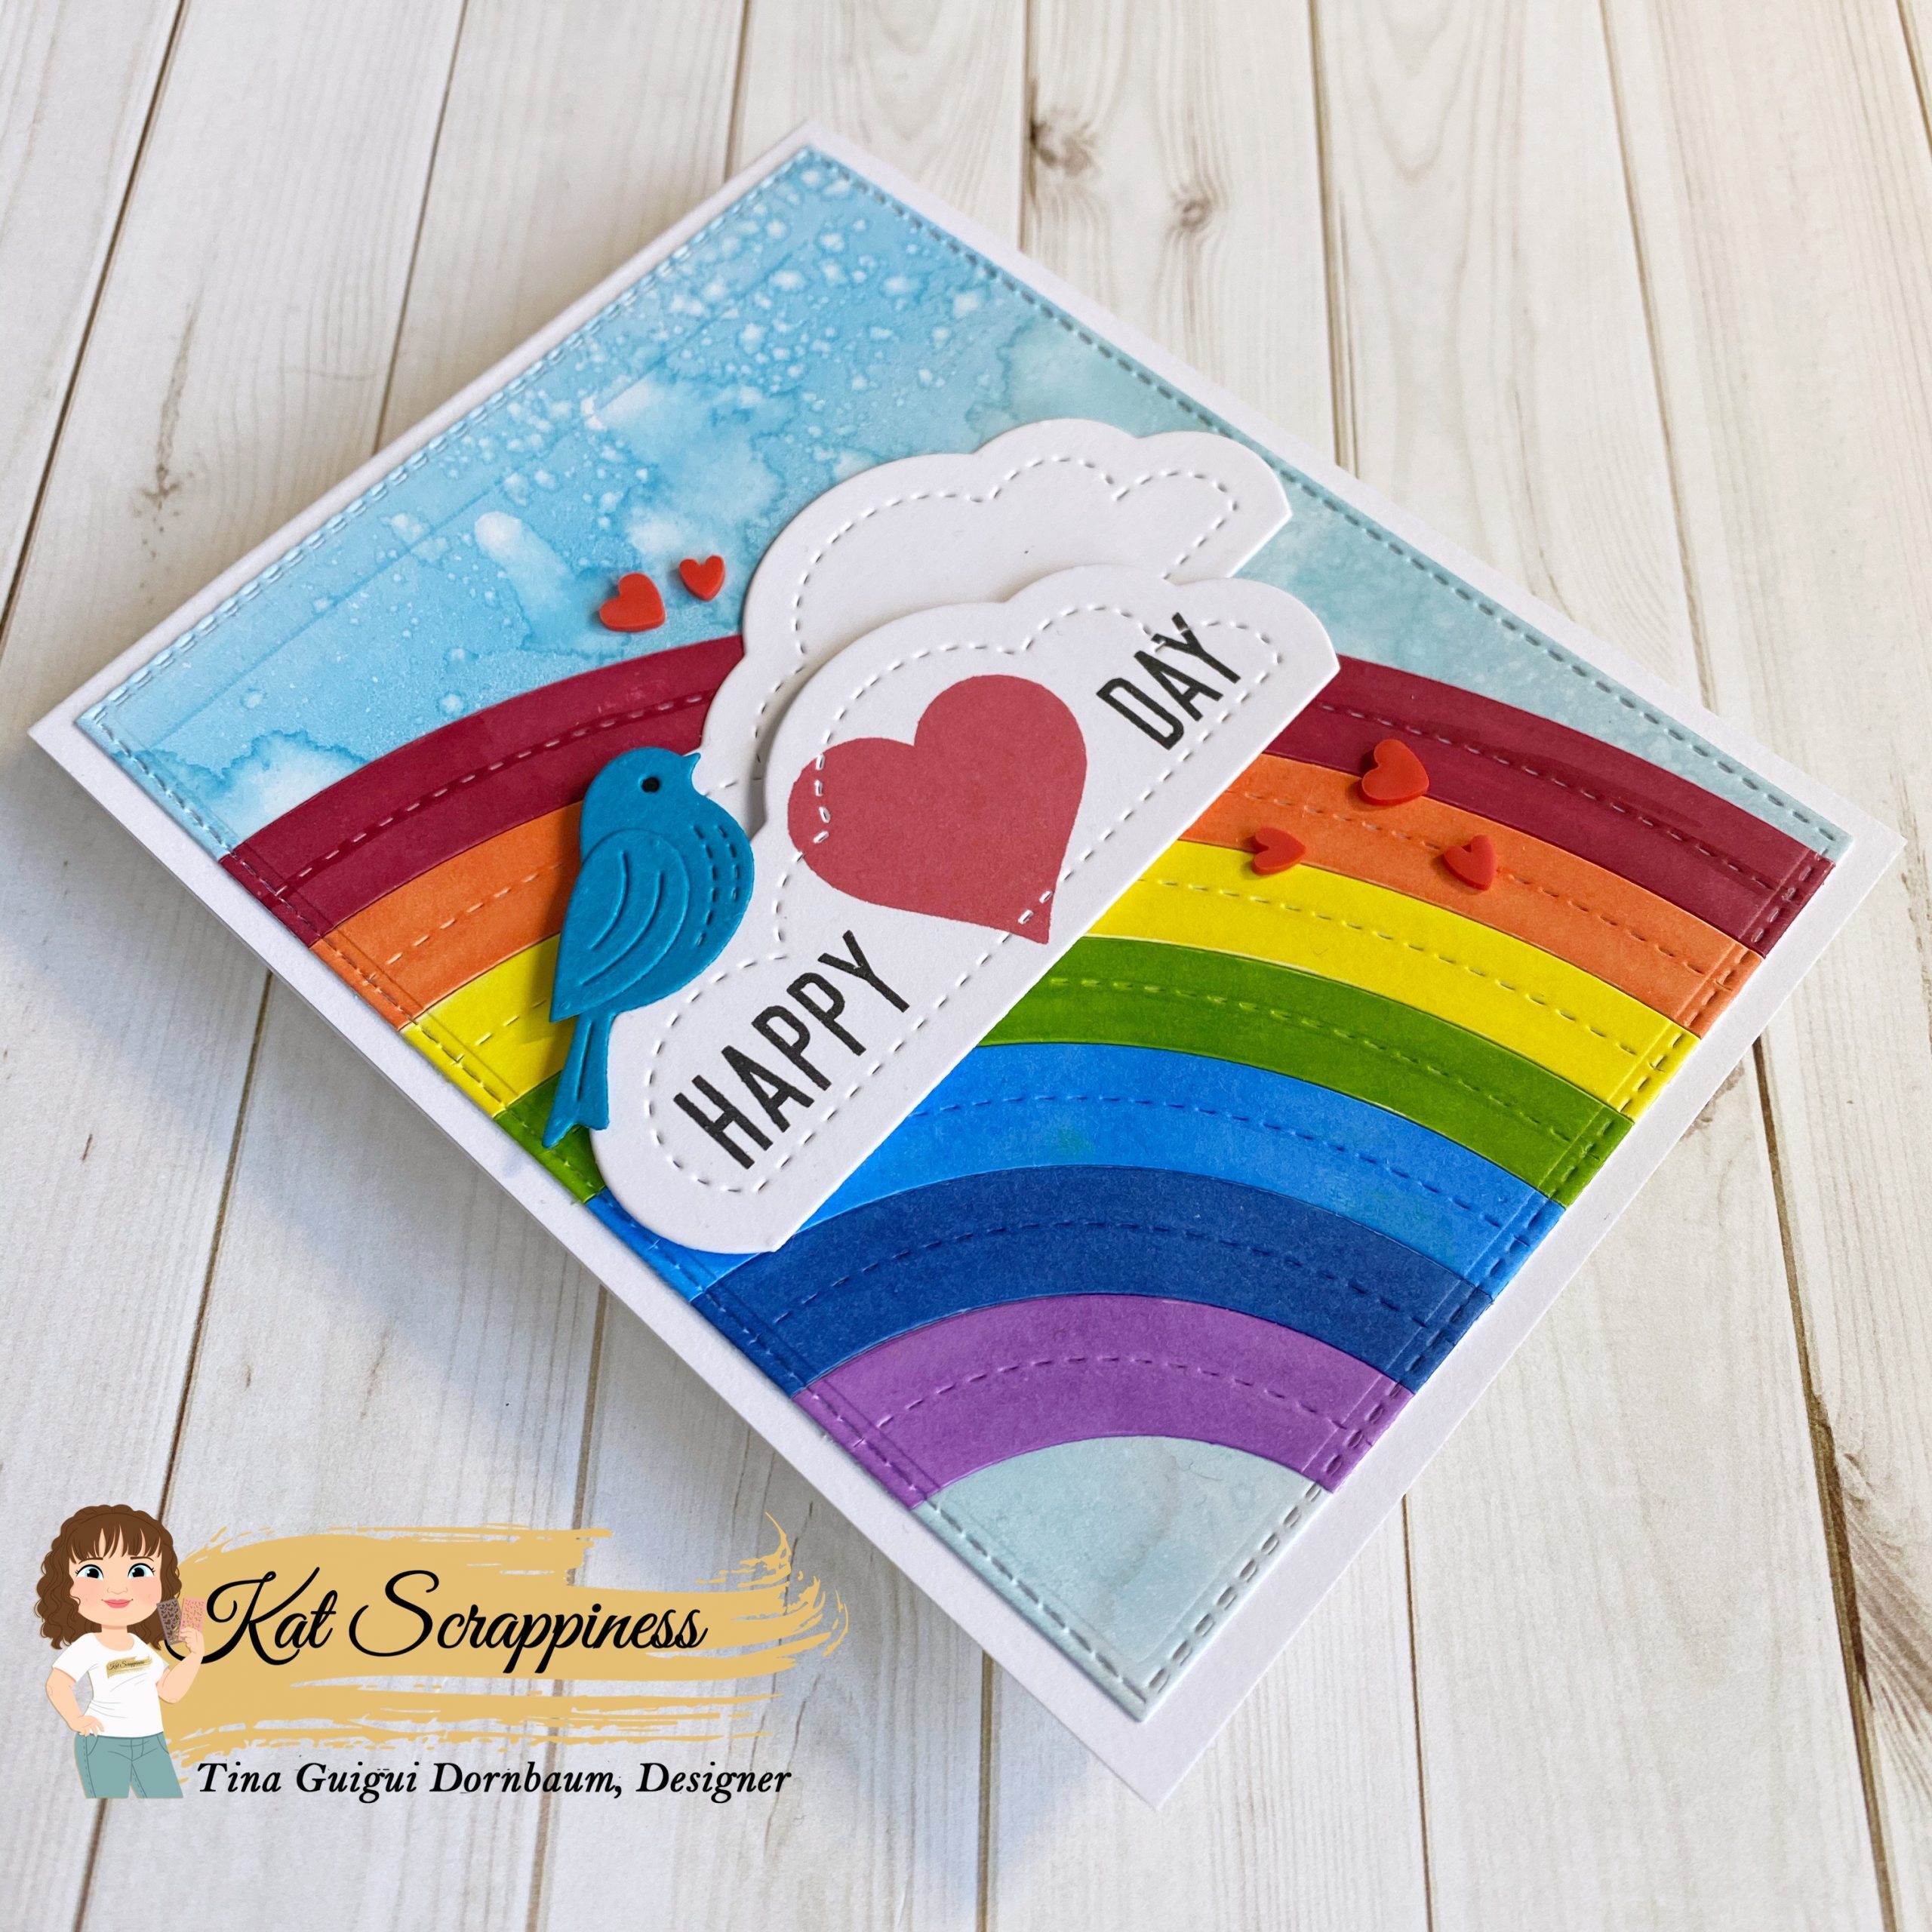
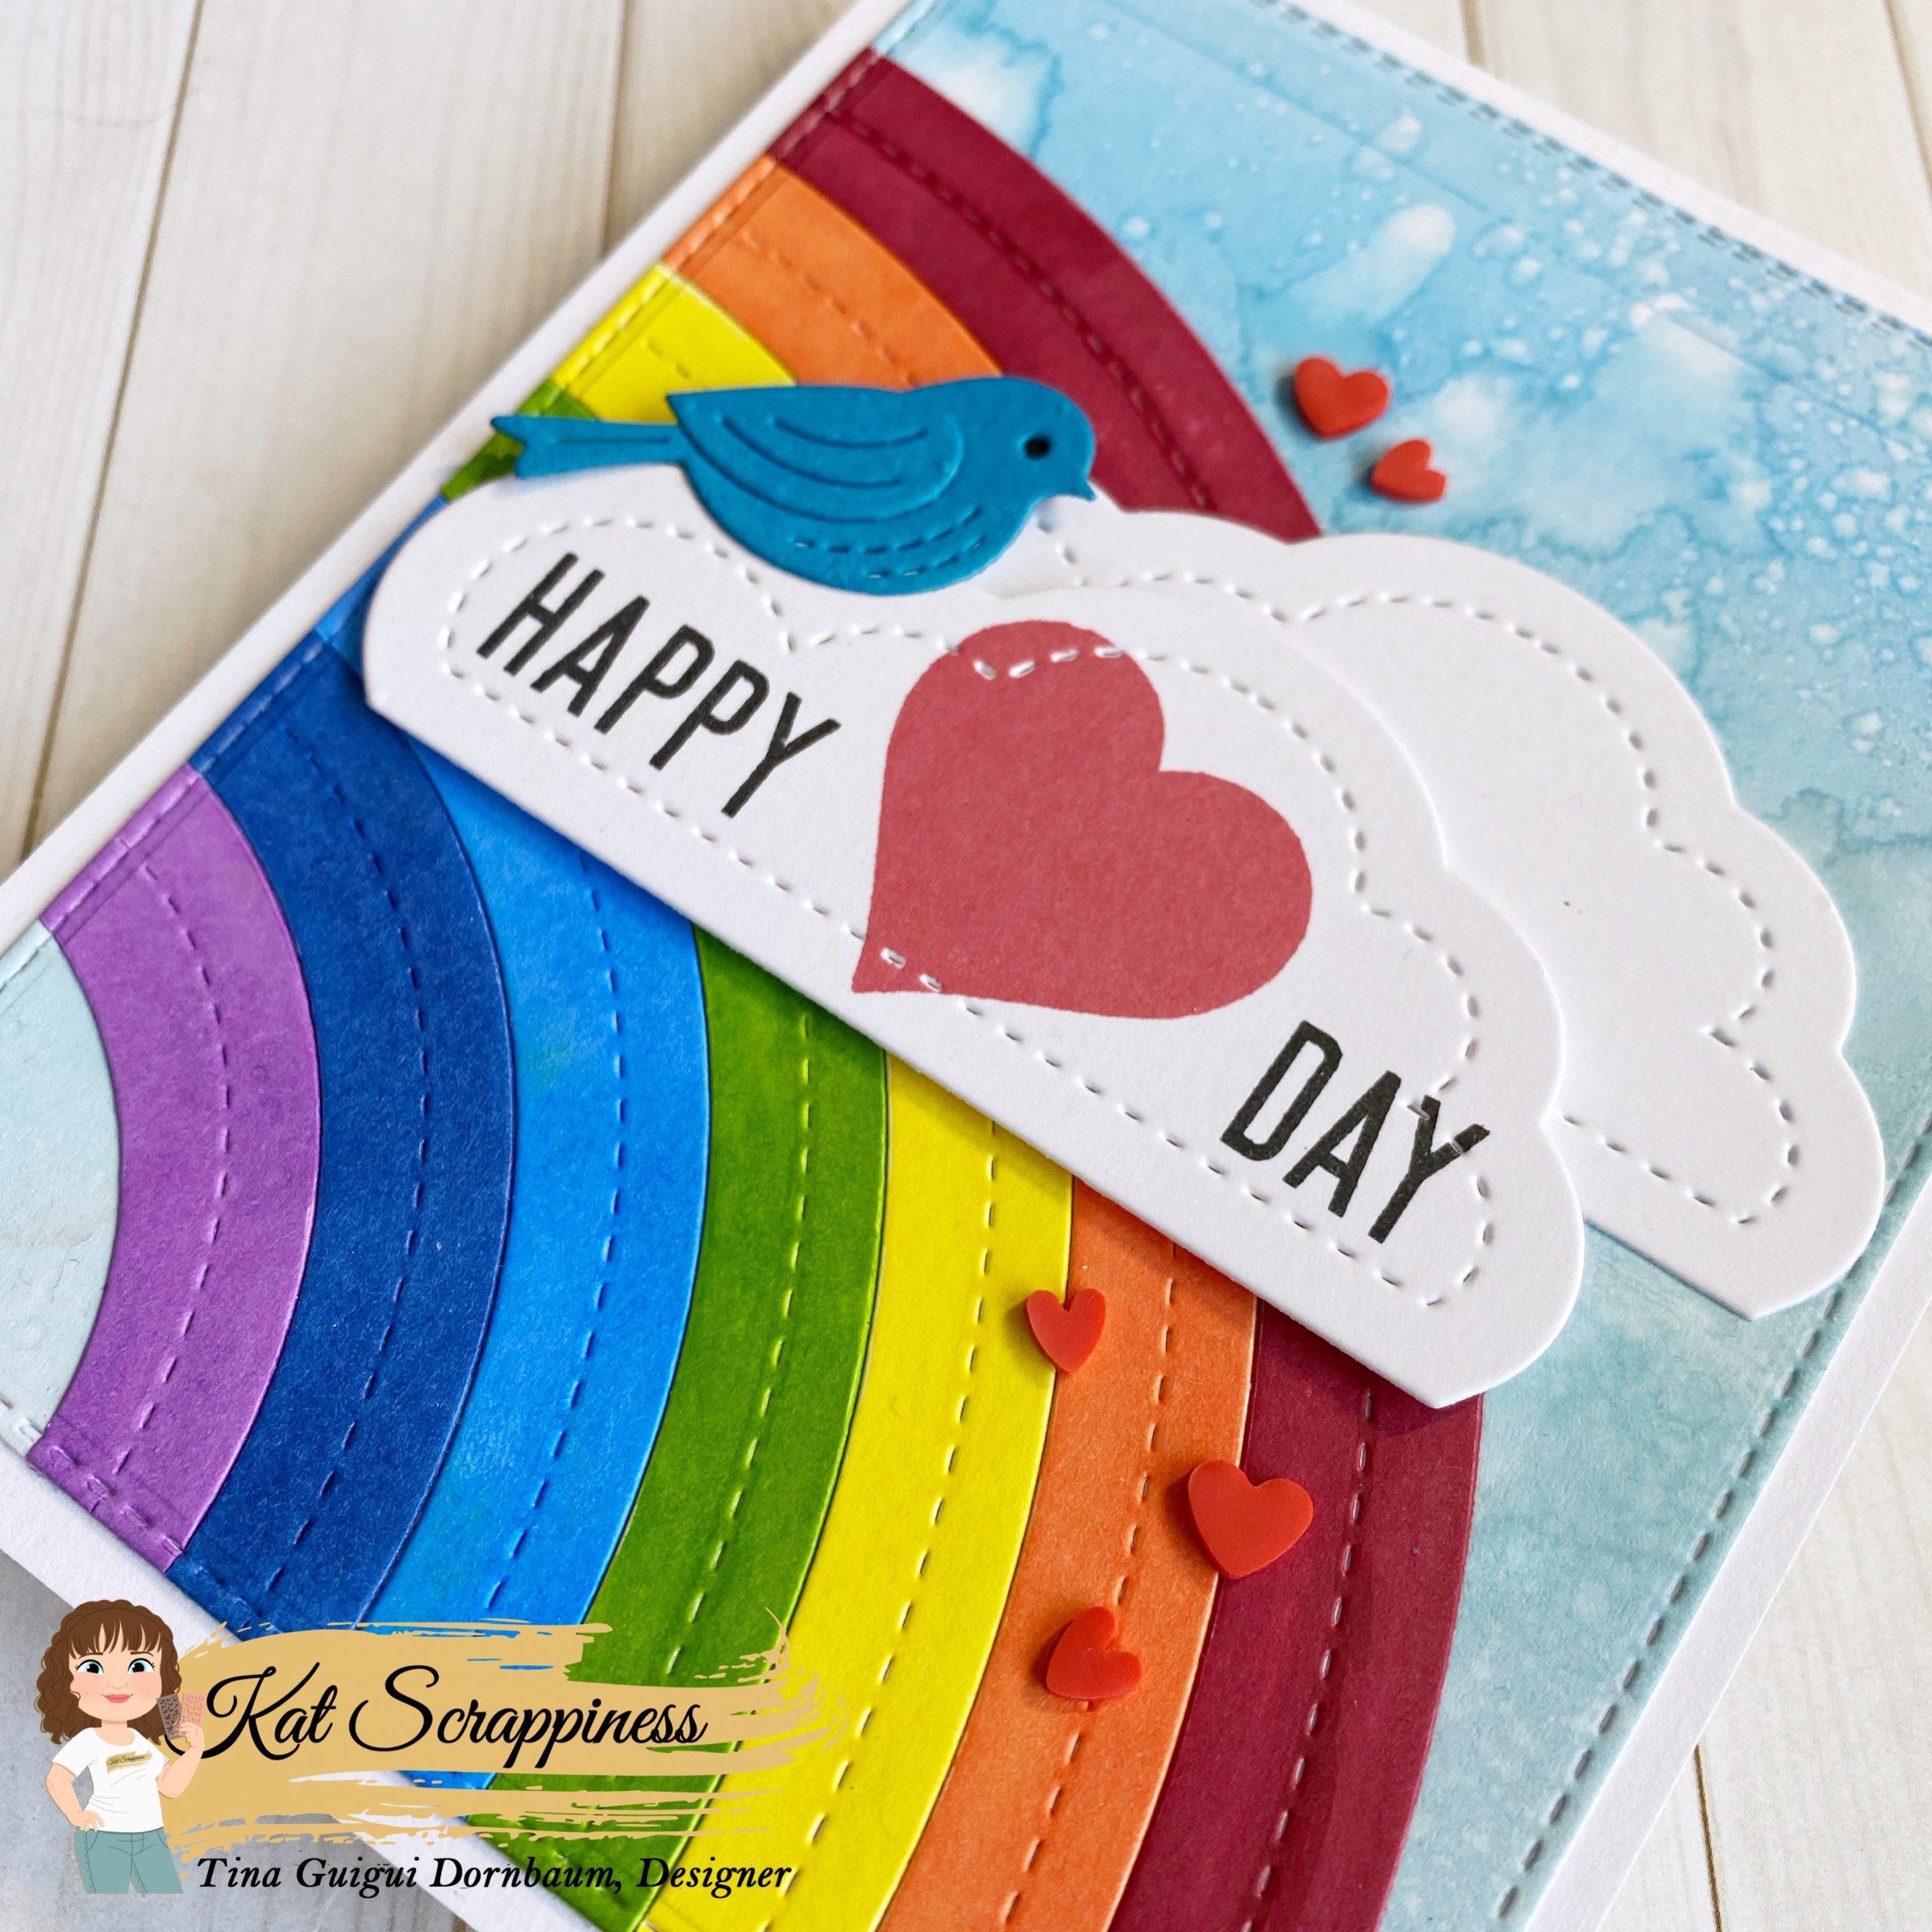
This card can be used for several occasions by changing the sentiment. Below is a link to all the products used. Thank you for stopping by and Happy Crafting!
Products Used: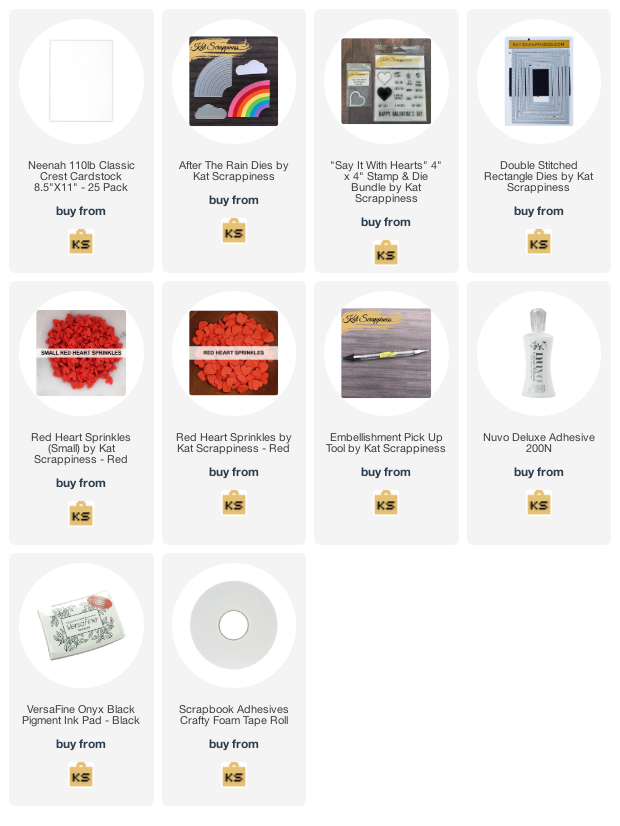
https://linkdeli.com/widget.js?id=f5e8378456858c916708


No Comments