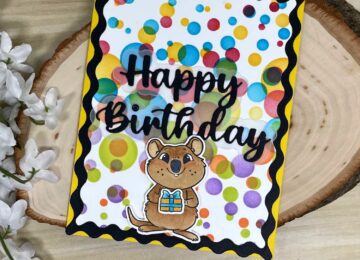
Hi everyone, it’s Tina here. Today’s card is using the Everyday Quokka Stamp Set. It has some stamps that the Quokka can hold as well as some accessories. Below you will find the steps to create your own card.
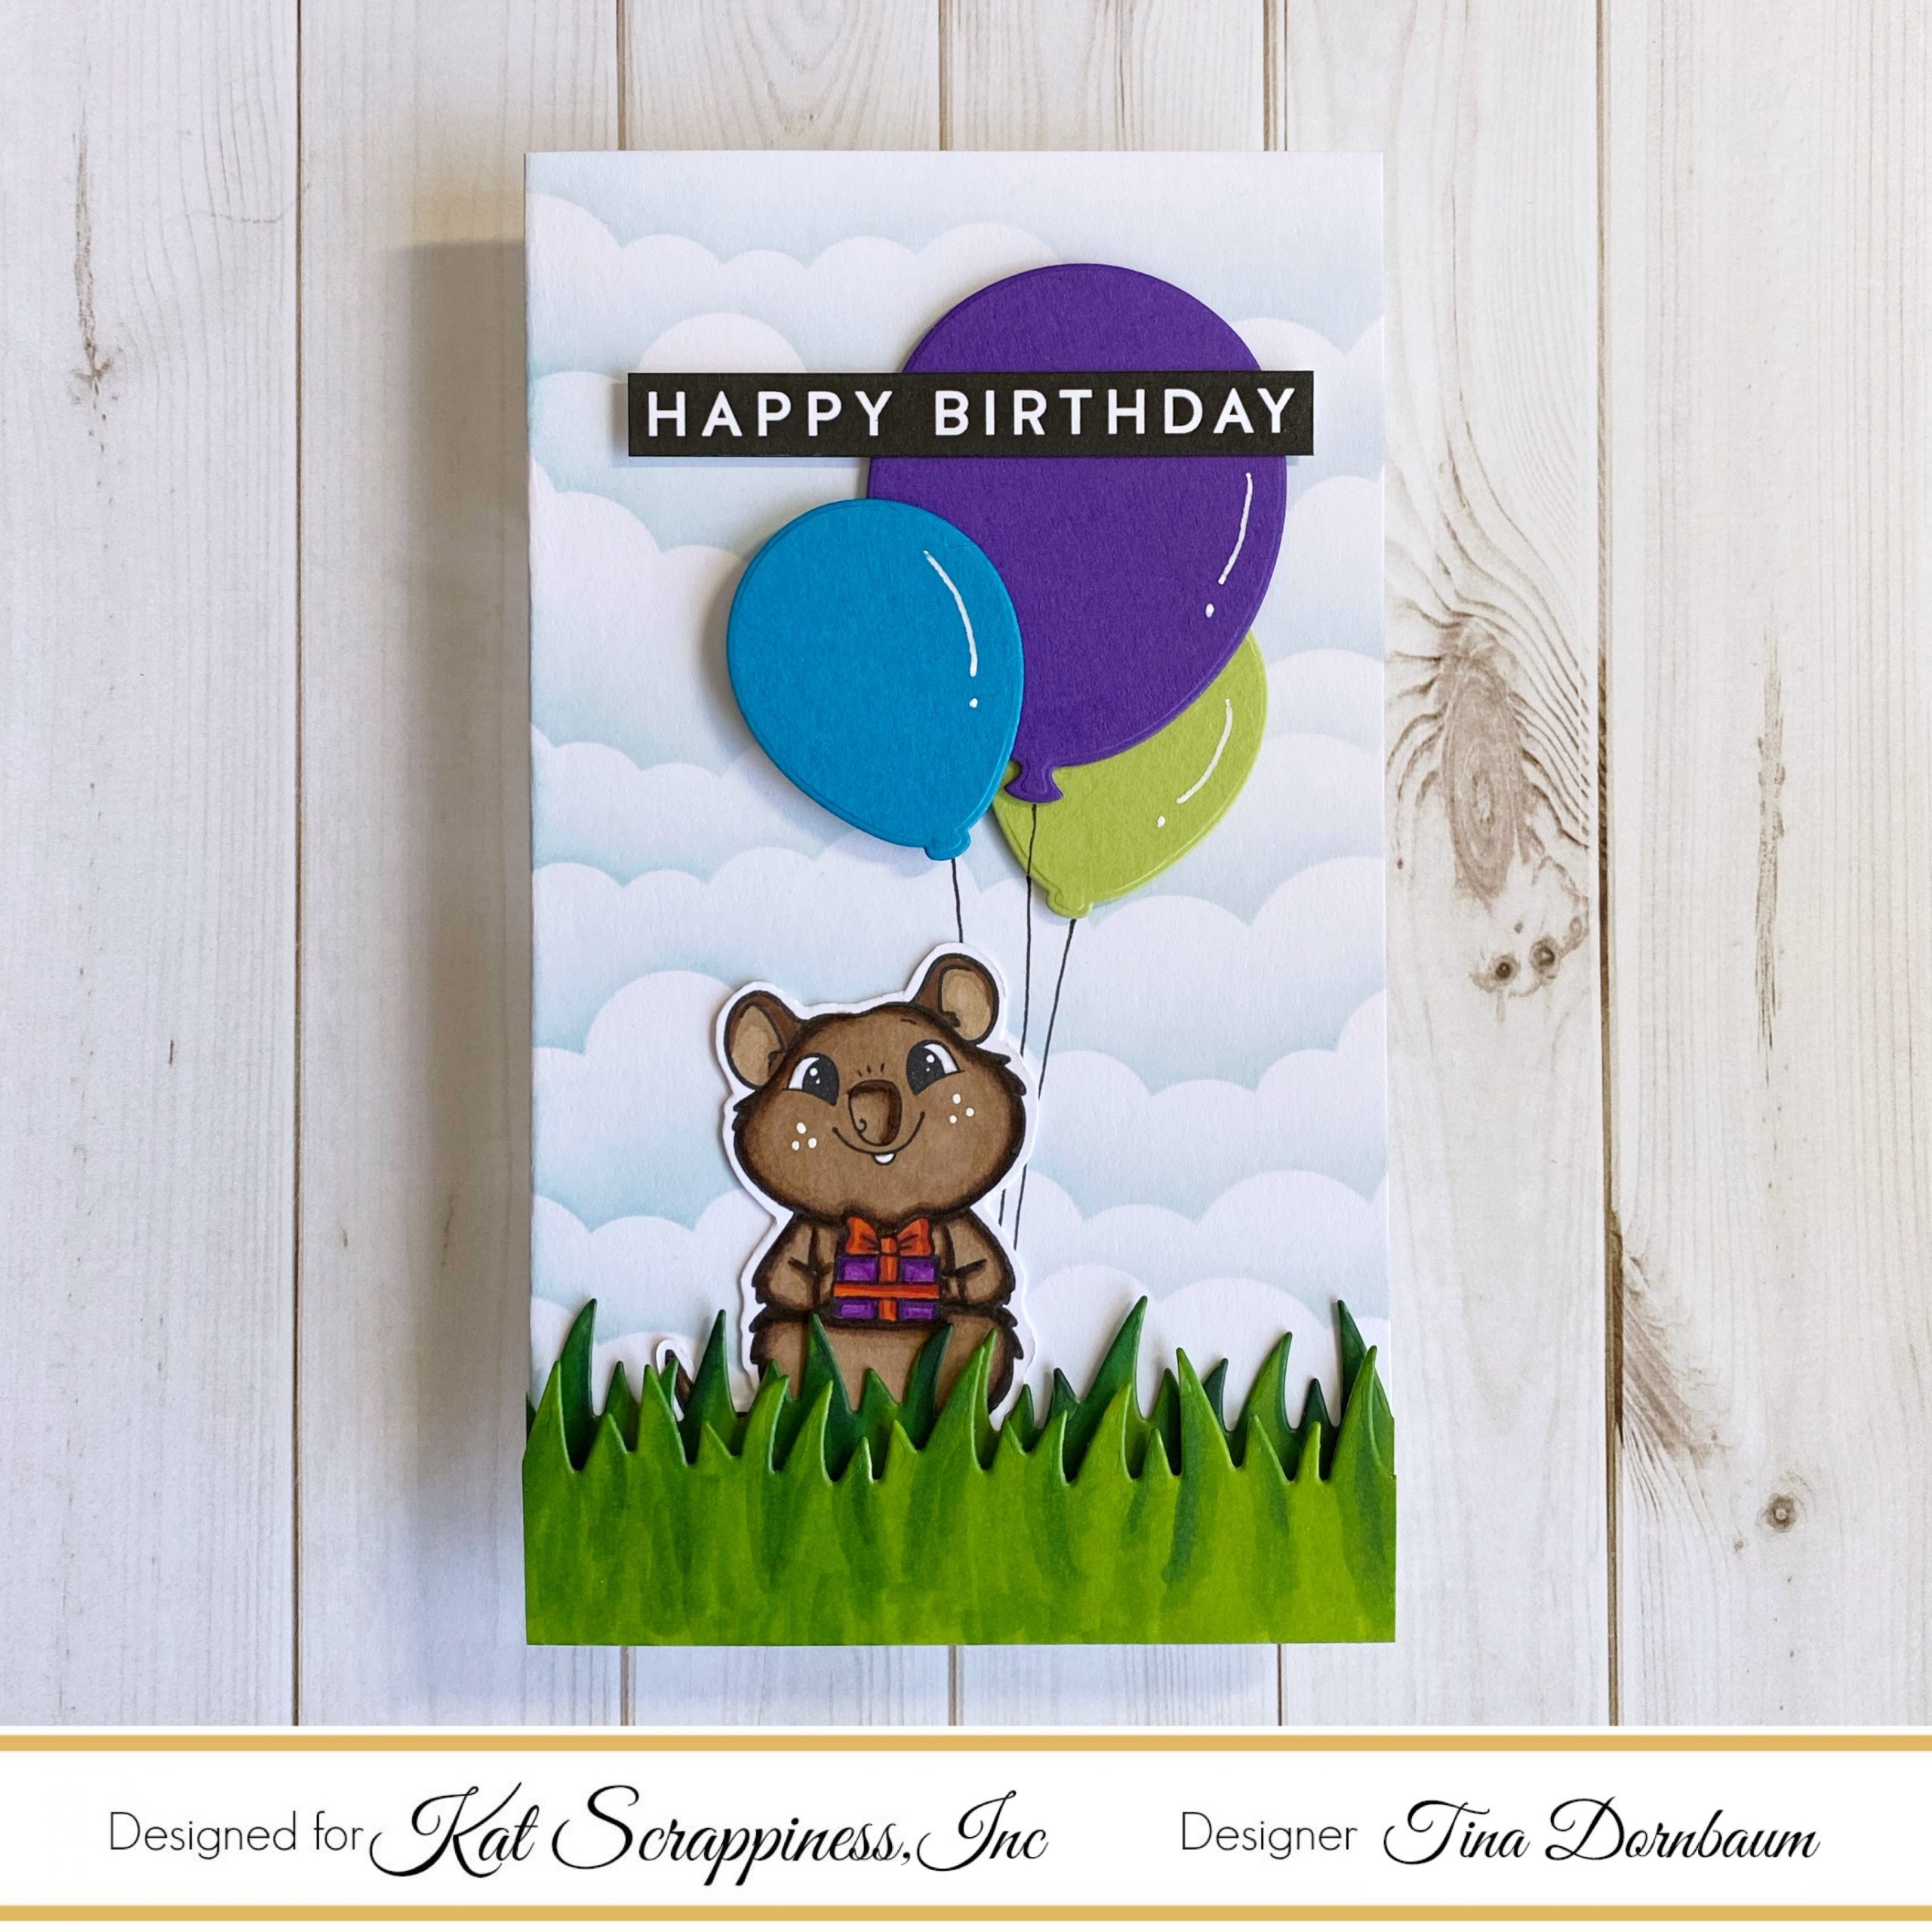
Step 1 – Trim White Cardstock to 7” x 6”, score at 3 1/2” and fold in half for a vertical side fold card. (Mini Slimline)
Step 2 – Place the Mini Cloud Edges Stencil on the front of the card. Using a Blender Brush add ink to the edges. Move the stencil and repeat. I used Distress Oxide Tumbled Glass.
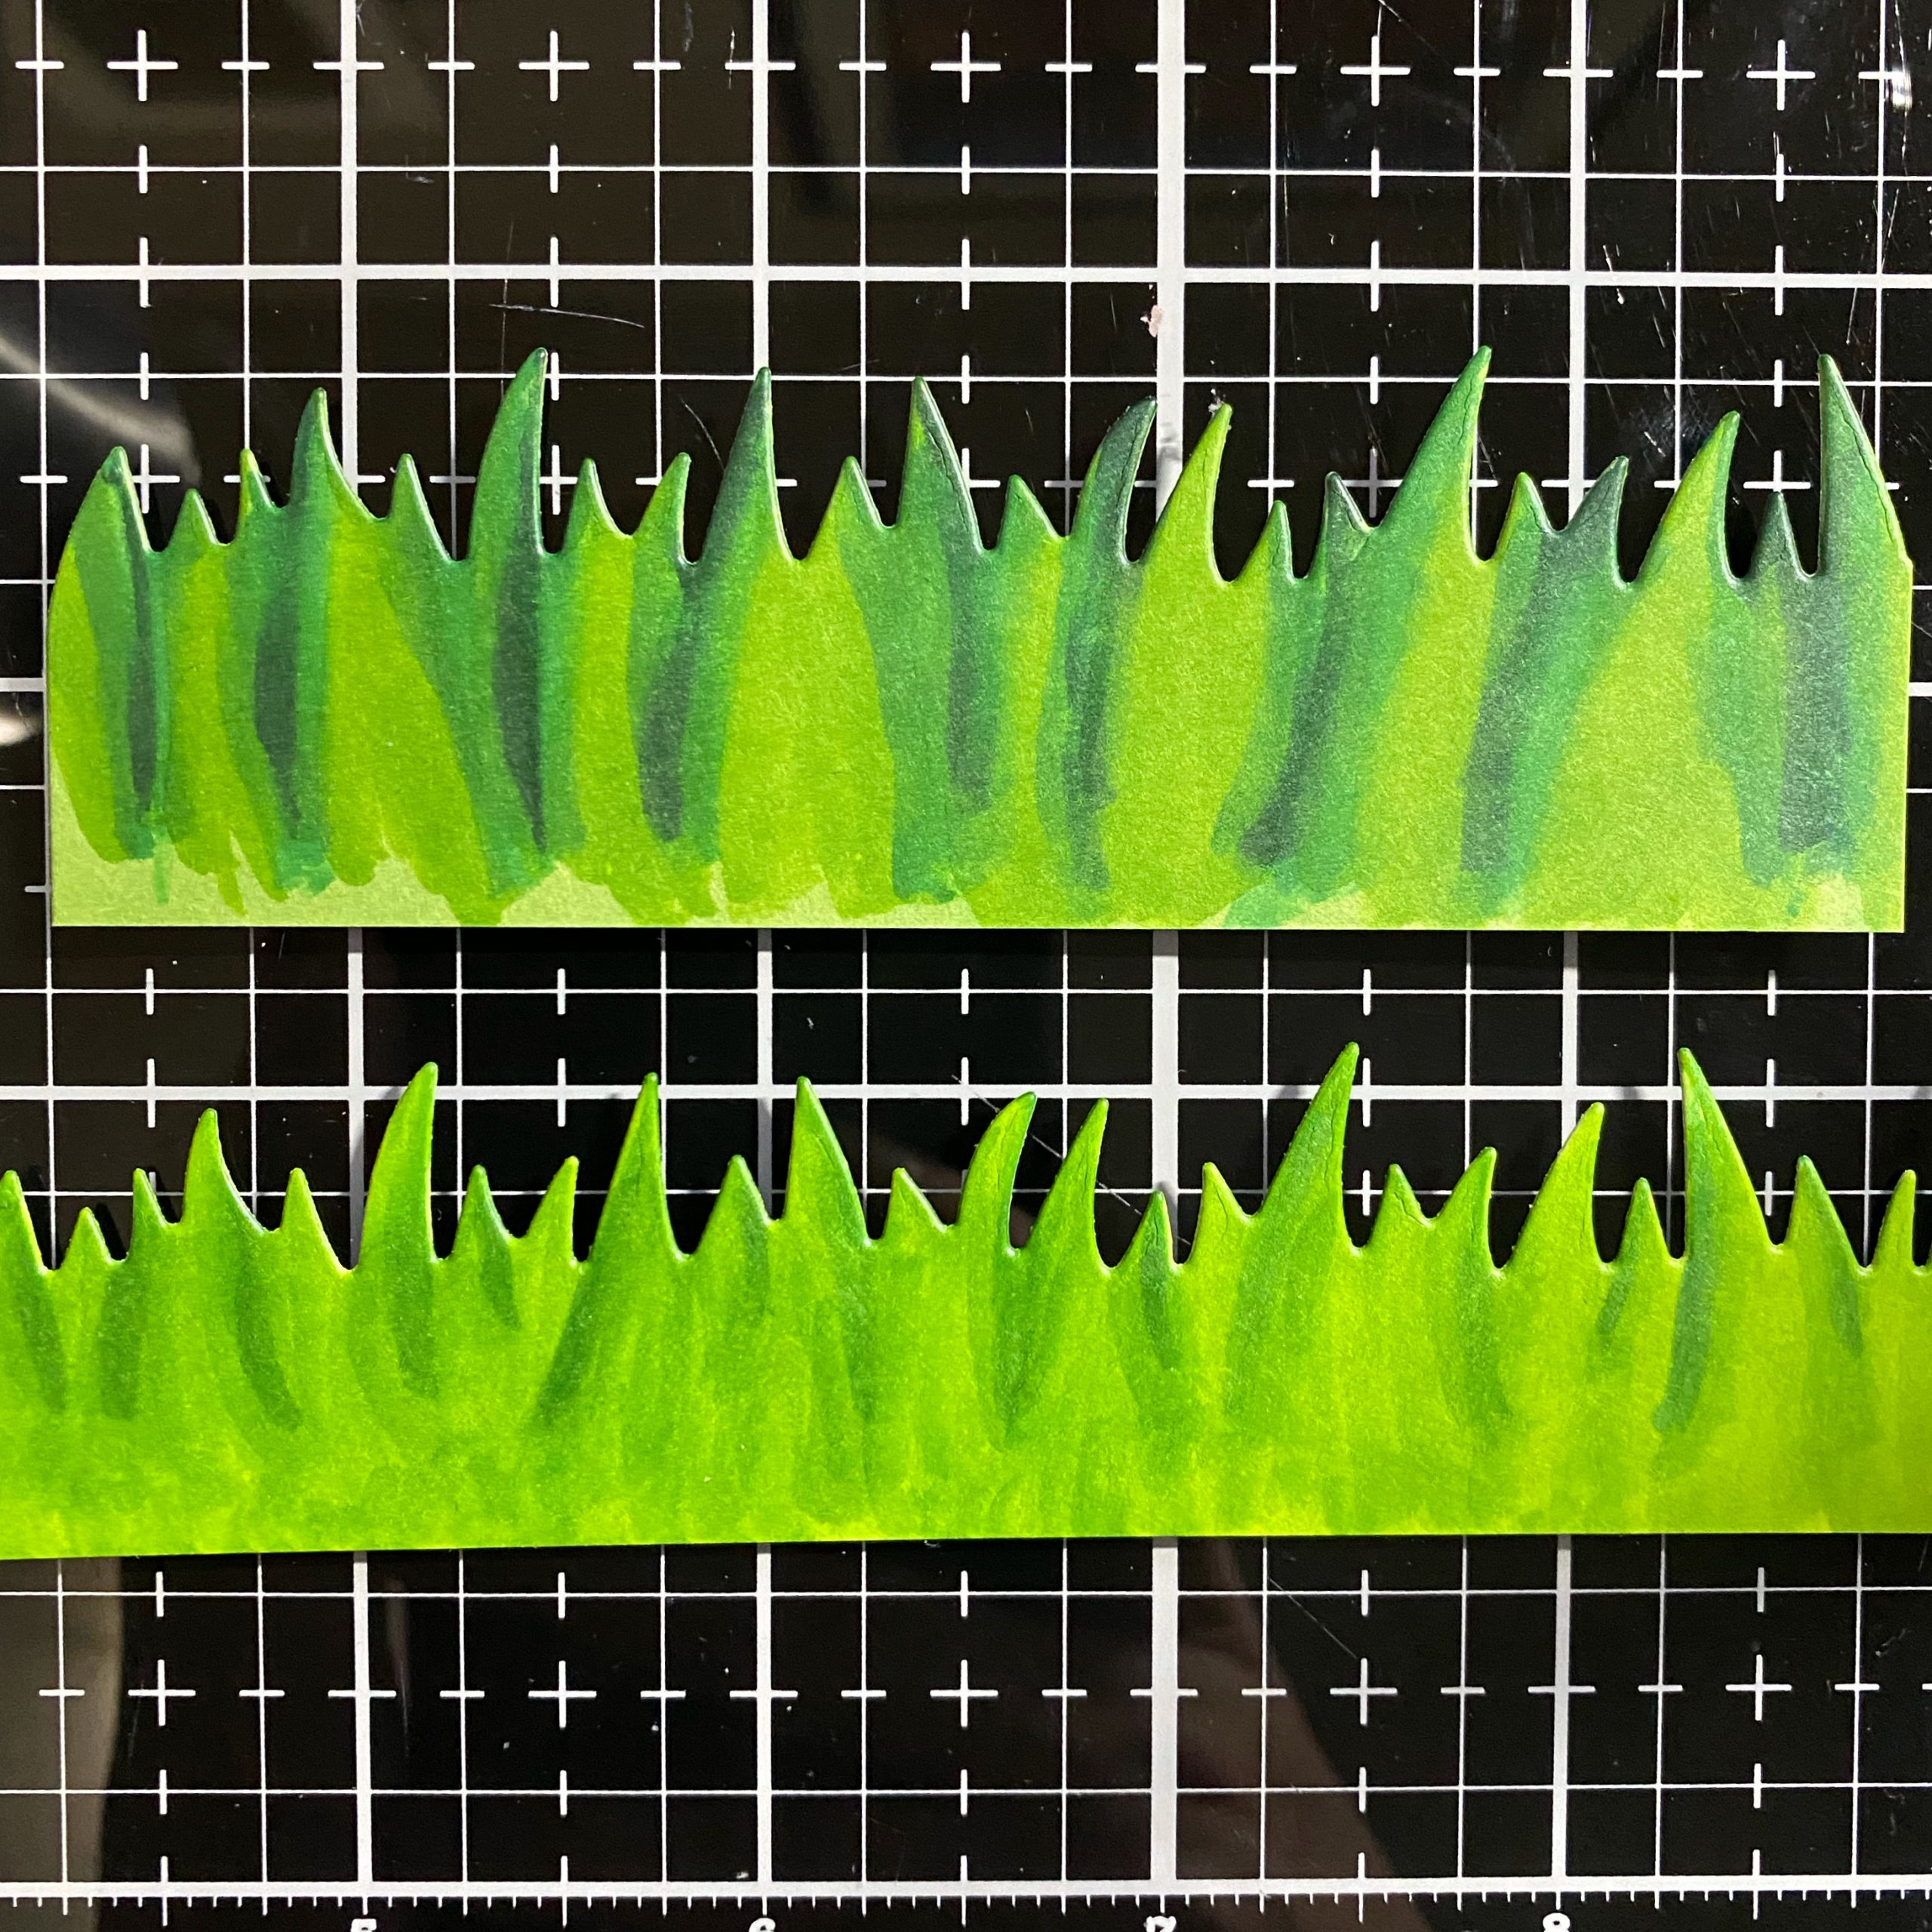
Step 3 – Diecut Slimline Grass Border in Green Cardstock. To create some texture I added some shading with an alcohol marker in various colors of green. I used Spectrum Noir Illustrator Markers. Adhere to card front using Bearly Art Precision Glue to the bottom layer and Foam Tape to the top layer.
Step 4 – Diecut Balloons from your stash in various colors of cardstock. If you do not have a balloon die then you can use the Never Ending Circles die and trim a triangle to adhere to the back of the circle. Adhere to card using Foam Tape. For added interest draw lines using a Fine Black Marker for the string.
Step 5 – Stamp Everyday Quokka (gift) using Gina K Amalgam Ink on White Cardstock. Stamp again on Masking Paper, trim and adhere over the stamped image. Stamp Everyday Quokka (Quokka). Remove the masked paper and now it looks like the Quokka is holding a gift. Diecut with the matching die. Adhere to card using Bearly Art Precision Glue.
Step 6 – Stamp Happy Birthday from your stash using Versamark Ink on Black Cardstock. Sprinkle White Embossing Powder and remove the excess. Heat set it with a Heat Tool. Trim the sentiment and adhere to card using Foam Tape.
Step 7 – For some added interest add some lines to the Balloons using a White Gel Pen.
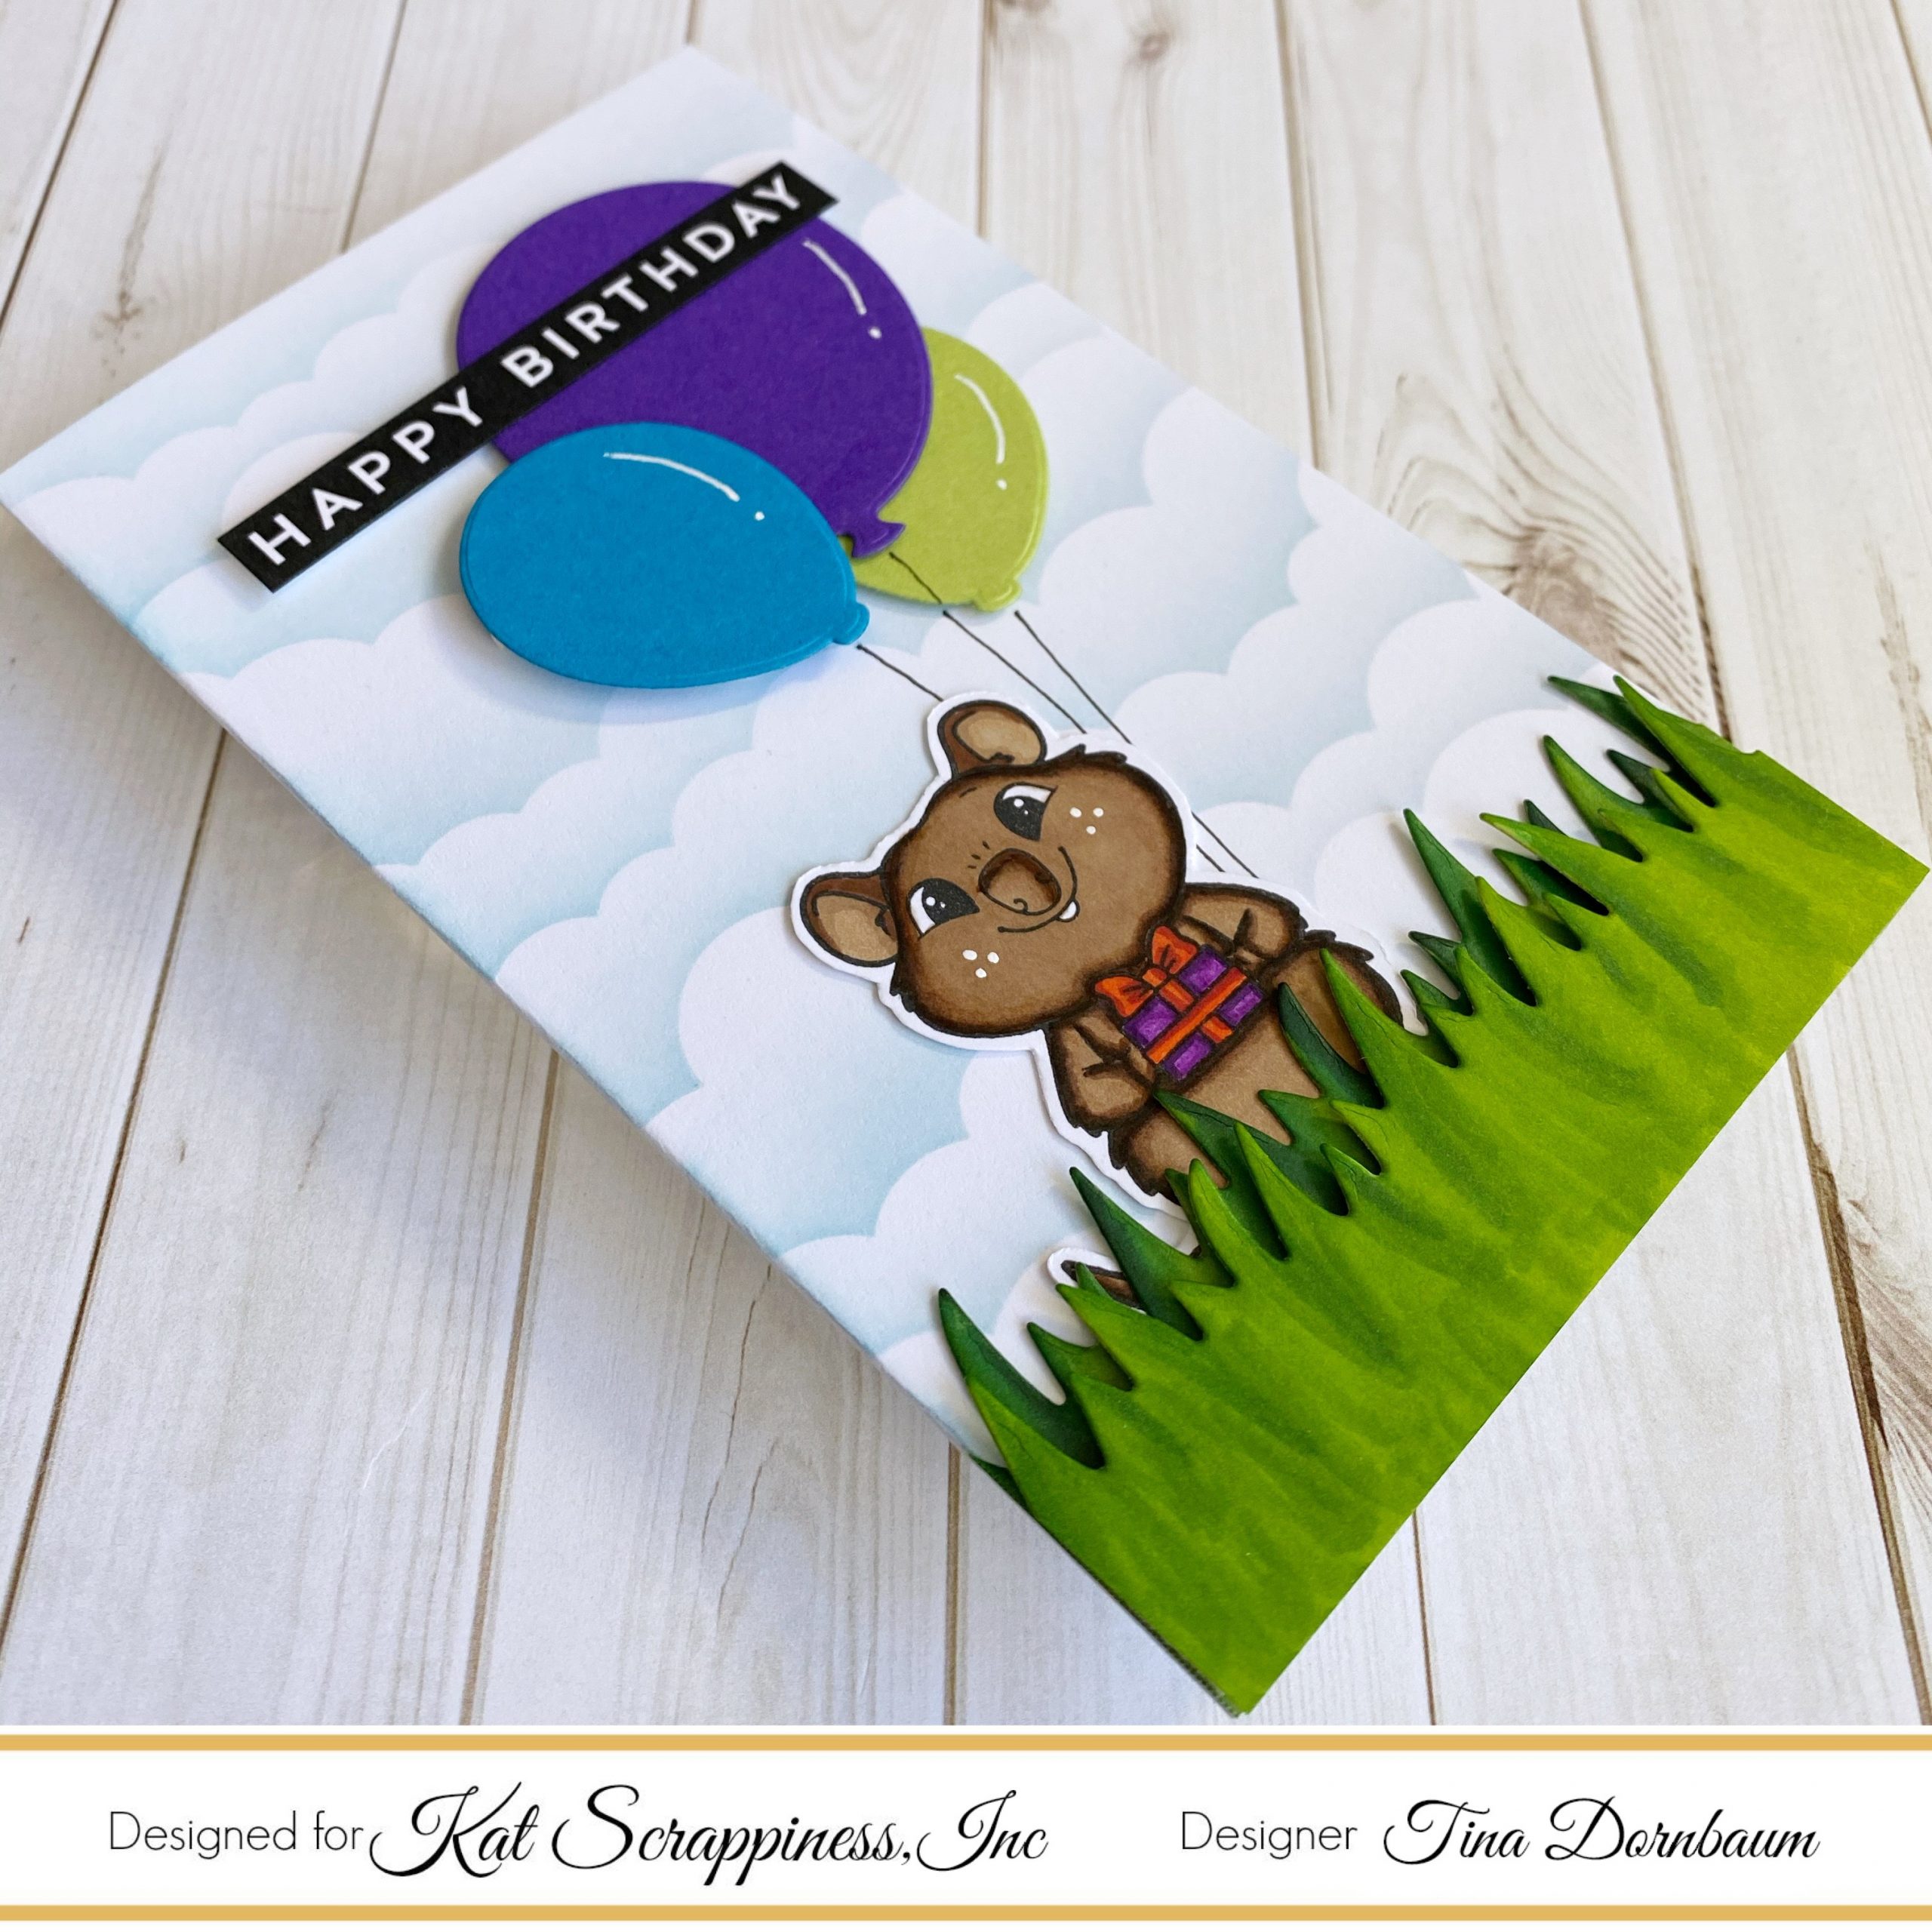
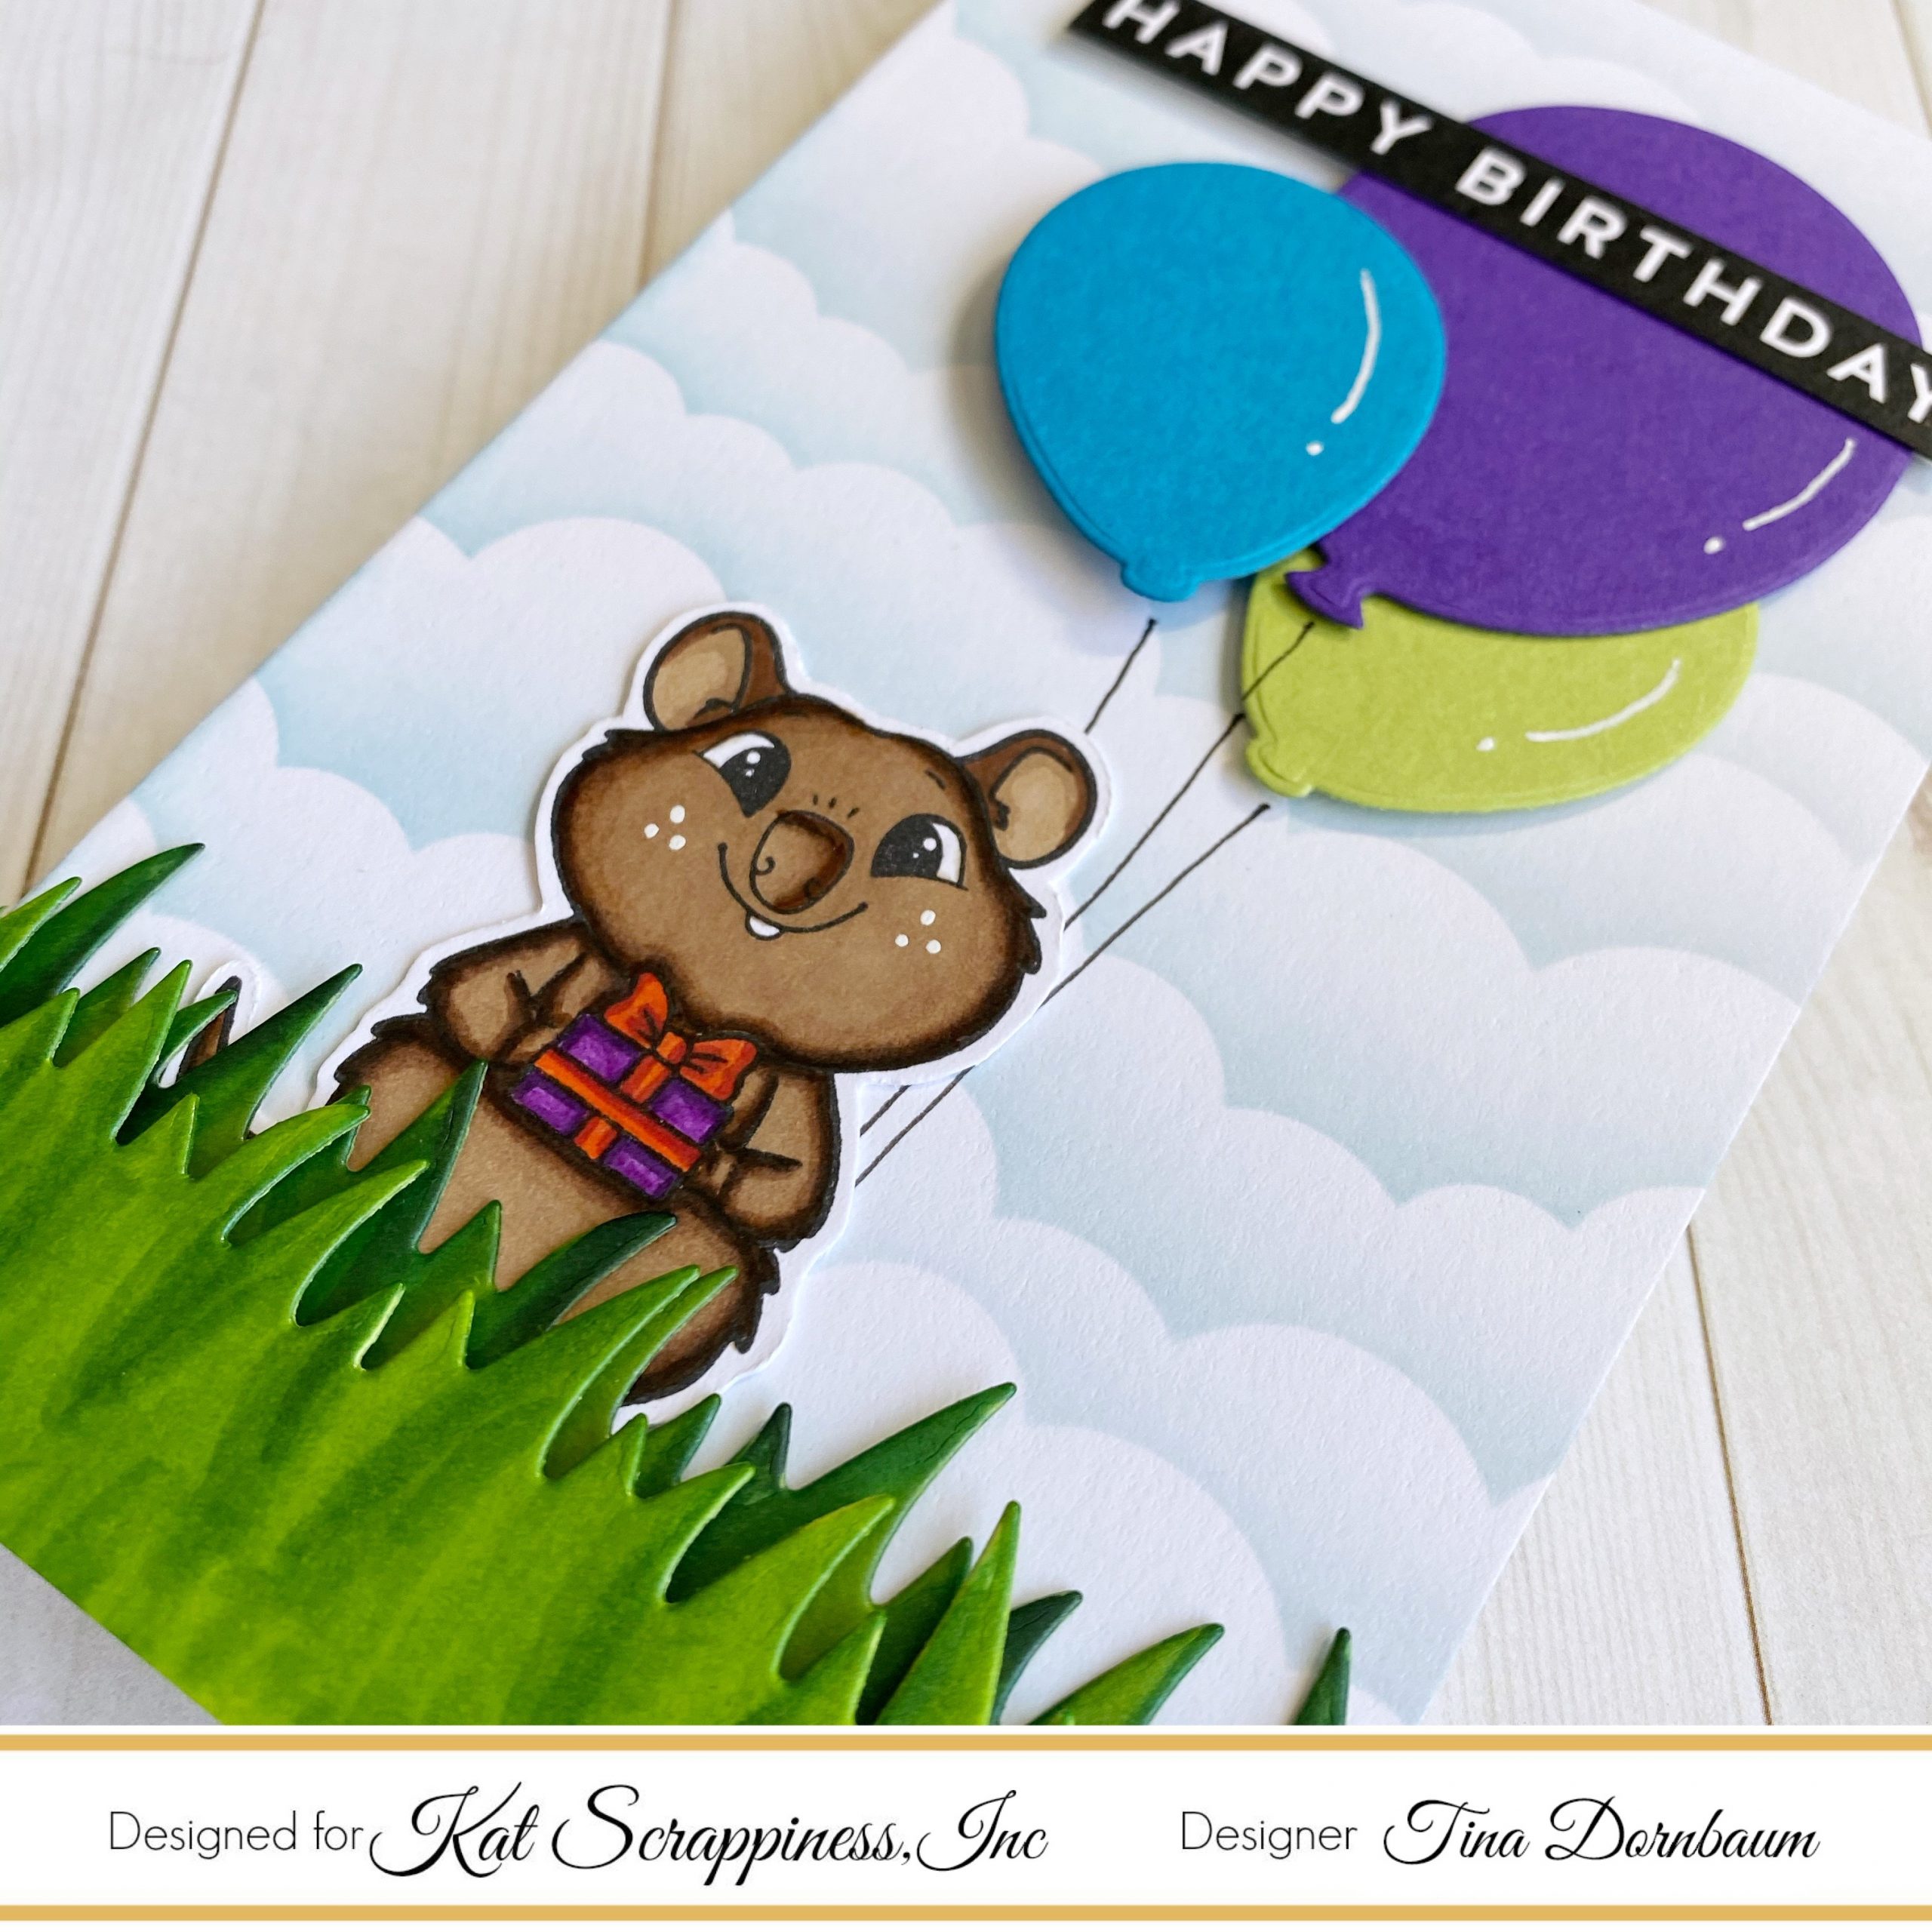
Below you will find the link to all the products used. Thank you for stopping by and Happy Crafting!
Products Used: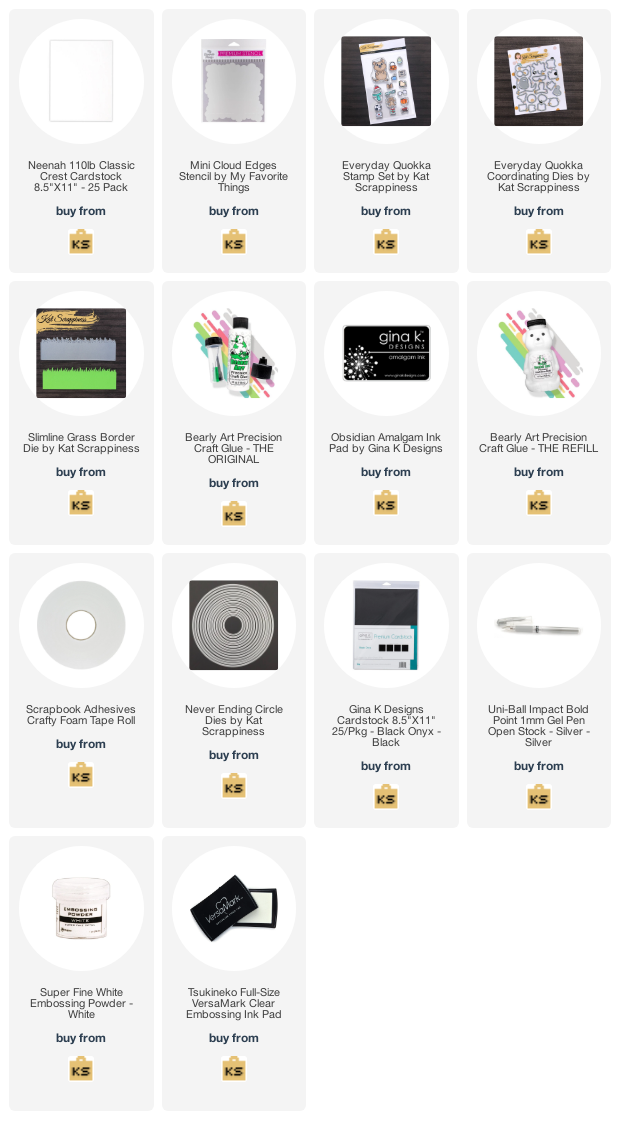
https://linkdeli.com/widget.js?id=f5e8378456858c916708

No Comments