Follow:
Design Team Projects

Happy Birthday!

Hello and Welcome, everyone!!

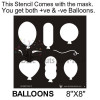
Today, I had some fun playing with the Distress Oxide Inks on black card stock. I used the super cute Die Cuts And More Balloon Stencil and Masks. This stencil has 6 different size and shaped balloons. It also included the balloon strings.

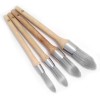
I used Picked Raspberry for the pink shade, Broken China for the blue, and Fossilized Amber for the yellow. I simply laid the balloon where I wanted it and added pigment with my Clarity Stencil Brushes onto the card stock. I overlapped a couple of the colors and it worked perfectly. You can still see the shade underneath…just like a transparent balloon! I love the texture the Distress Oxides give the card stock…It looks like linen.
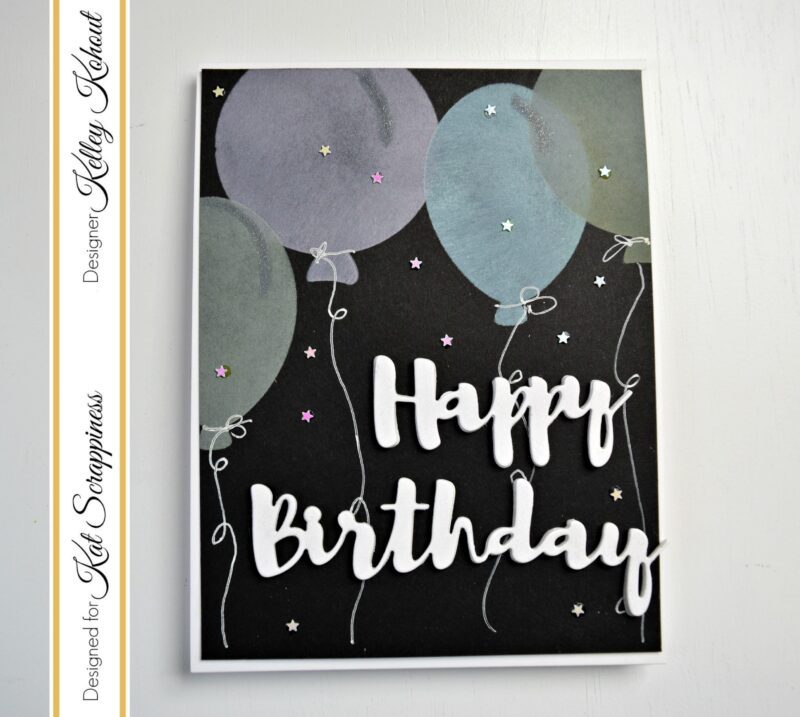
 

The greeting is the Kat Scrappiness scripty Happy Birthday die. I cut this 4 times out of white card stock and adhered them together, stacking them to add lots of dimension. The little shine marks on the balloons were created with a quick swipe of Wink of Stella. With a white gel pen, I made the balloon ties and strings.  I then adhered lots and lots of Kat Scrappiness Star Sequins. 

I love the way this one turned out! The Distress Oxides on dark card stock look really cool!

You still have time to win!!!
You still have time to join in the Kat Scrappiness Blog Hop!! 

You will have a chance to win a prize at each designers blog hop (One of our new stamp sets, winners choice!) and we are giving away three grand prizes right here on the Kat Scrappiness Blog!

All you need to do for your chance to win these great prizes is comment here on our blog and again at each one of our designers blog. You have until June 24th at midnight to enter. Come back June 25th 2017 at noon pst when we will announce all 10 winners!

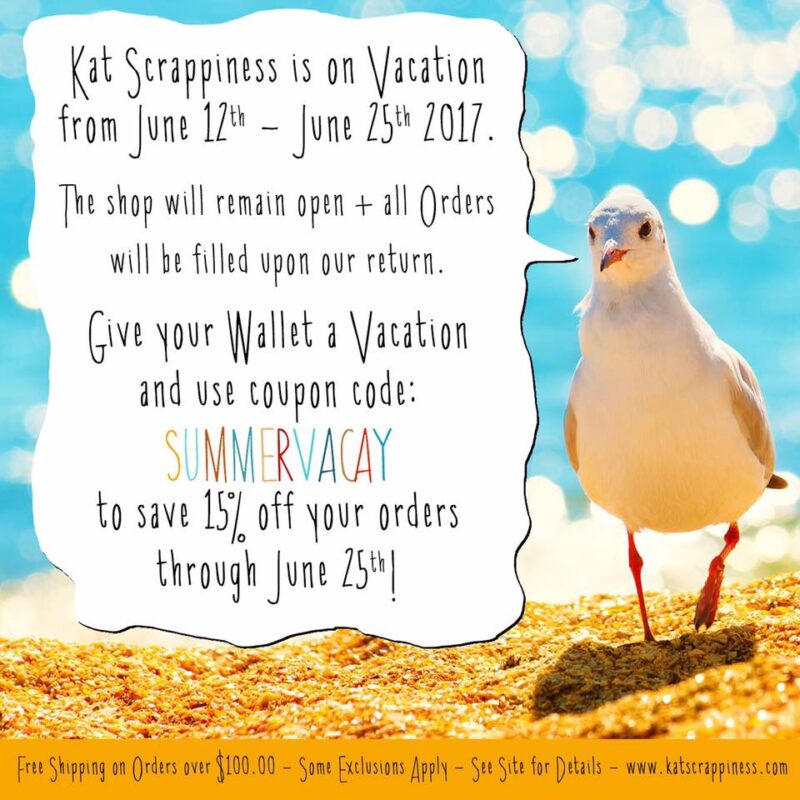
You also have time to shop the sale!
Supplies:

https://static.inlinkz.com/ppr.js

Previous Post Next Post

You may also like

2 Comments

  • Reply Nicole Douthit

    WOW! Fabulous Card!!! You are exactly right…the Oxide inks look so neat. LOVE the little stars 😉

    June 22, 2017 at 9:02 pm
  • Reply joan cornell

    I love your card with the distress oxide inks. I already have your balloon stencil ! I have been thinking about the Happy Birthday. Wonderful cards by all on this hop!

    June 23, 2017 at 2:25 pm
  • Leave a Reply

    This site uses Akismet to reduce spam. Learn how your comment data is processed.

    Design Team Projects

    Happy Birthday…

    Hi everyone!

    Cheryl here, with a new DT post. I have a birthday card to share, so let’s get to it!

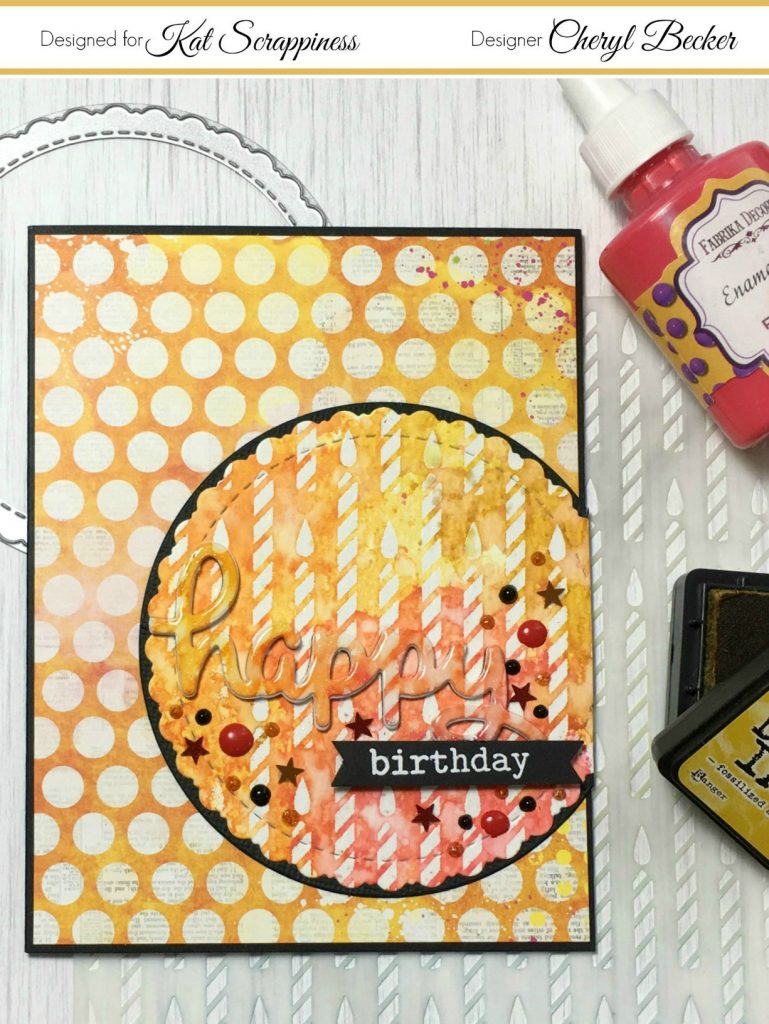
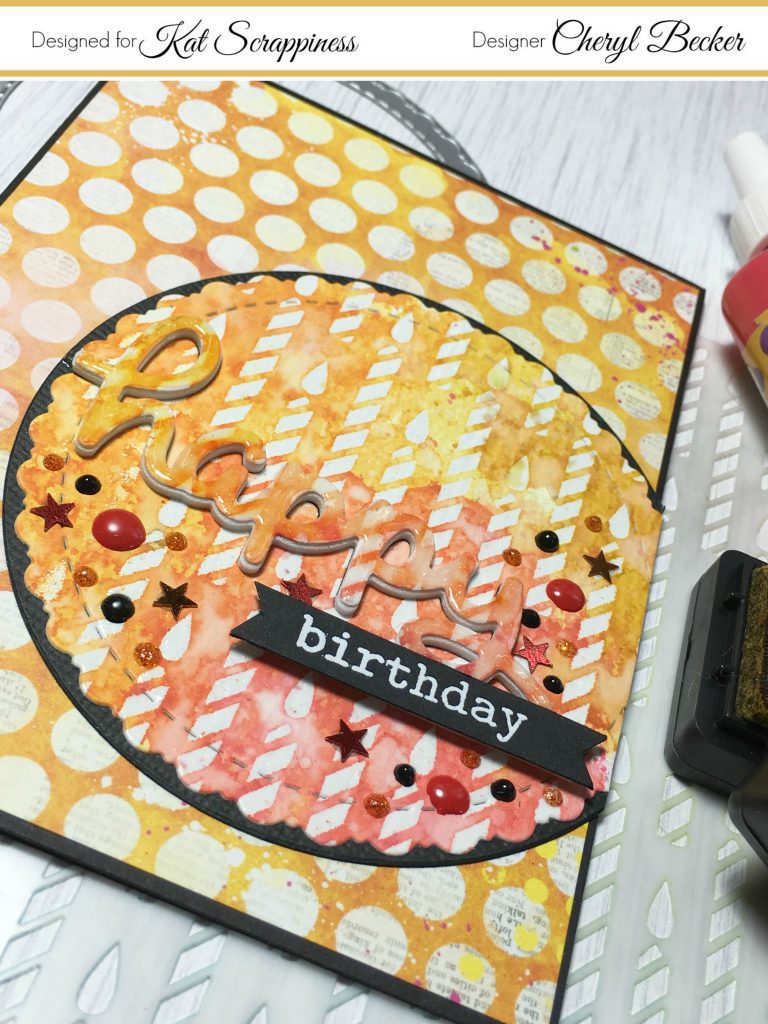
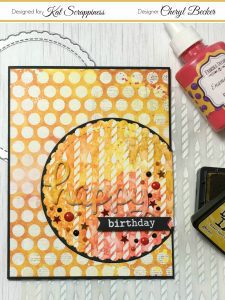
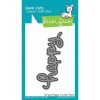
    I found a piece of polka dot paper in my stash and really wanted to use it. Came in a card kit, I believe, so I don’t know who it’s by, sorry. Kathleen sent me the stencil you see in the photo in my DT kit this month. So I white heat embossed it onto a piece of  Tim Holtz watercolor paper. I then got out my Distress Inks and went about to create a piece that would pull out some of the same colors as the patterned paper had. I believe it was Mustard Seed, Abandoned Coral, maybe some Worn Lipstick. Anyway, after it was dry I cut a piece of it using KS Stitched Fancy Scalloped Circle Dies. I got really brave and took the Lawn Fawn word die from my DT kit and cut it right out of that circle!!! Fingers were seriously crossed, lol. Anyway, I then cut the same word out of some white fun foam and glued the two together. I was sure to keep the tiny inside bits to put back in. I then mounted the scalloped piece to another circle slightly larger, cut out of  black cardstock.

    I took the sentiment and using liquid glue, I put it back into place and added a bit of weight till dry. I also took those tiny bits and glued them back in place.

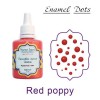
    I took a black strip and stamped birthday and heat embossed with white embossing powder. I cut the ends into banner shapes and mounted with a bit of foam tape. I then pulled out some Fabrika Decoru enamel dot drops and some Nuvo enamel drops, along with a few stray star shaped sequins from my stash.

    I mounted the circle piece to my patterned paper and trimmed off the excess. I mounted that to a black card base and attached a piece of white cardstock to the inside to be able to write a message. When the entire card was finished I took some Glossy Accents and totally covered the word happy. I love how it’s so shiny!

    So there you have it! A really fun card with a few different techniques. Watercolor, heat embossing, and some die cutting. I love that stencils are so affordable and can really give a fun look at very little cost. I’d love a bunch of background stamps but they aren’t so cheap and stencils are, so I plan to add to my collection! Really, you can do more with them anyway, as to a stamp. Hope you got a bit of inspiration today.

    Happy Crafting!

    Save

    Save

    https://static.inlinkz.com/ppr.js

    Previous Post Next Post

    You may also like

    No Comments

    Leave a Reply

    This site uses Akismet to reduce spam. Learn how your comment data is processed.