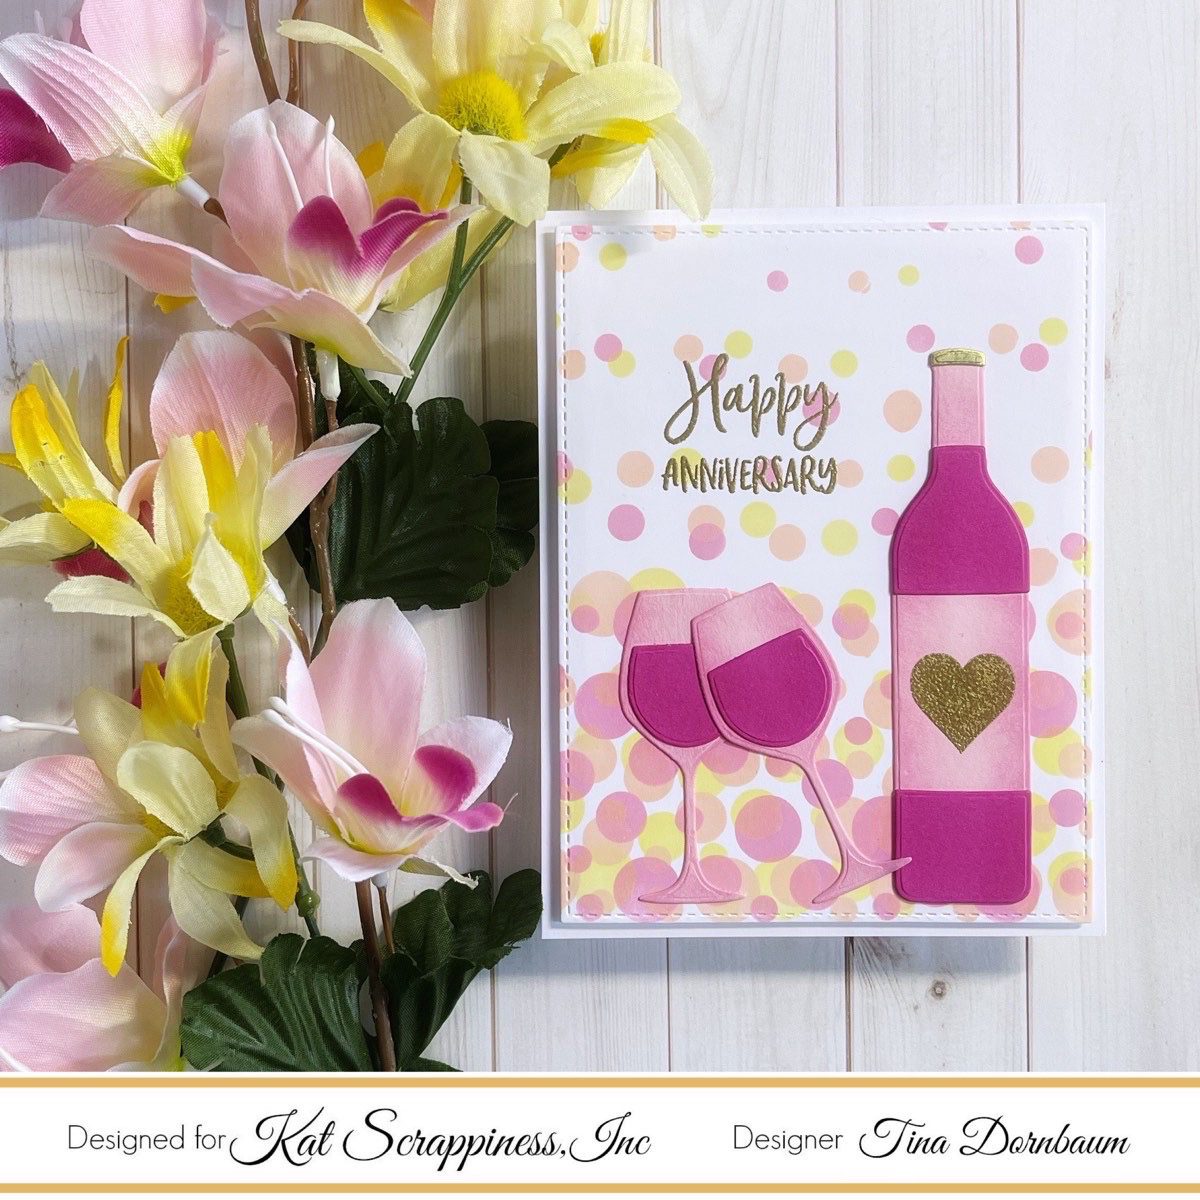
Hi everyone, it’s Tina here. Today I have an Anniversary Card to share using the Floating Dots 6×6 Stencil with the Wine Not Dies. Below you will find the steps to create your own card.
Step 1 – Trim White Cardstock to 4 1/4’ x 11”, score at 5 1/2” and fold in half for a horizontal top fold card. (A2)
Step 2 – Trim White Cardstock to 4 1/4” x 5 1/2”. Place the Floating Dots Stencil and apply Ink in color of your choice. Once completely covered move the stencil and apply another color. Do it one more time in another color. I used a Light Pink, Dark Pink and Mid Yellow.
Step 3 – Diecut Double Stitched Rectangles using the panel created from Step 2.
Step 4 – Stamp Happy Days sentiment using Versamark to the panel created in Step 2. Sprinkle Gold Embossing Powder, remove the excess. Heat set it with a Heat Tool. Adhere to card front using Foam Tape.
Step 5 – Diecut Wine Not using various colors of Cardstock. I used a Light and Dark Pink Cardstock. Optional add some ink to the edges of the Light Pink diecuts for added dimension. Assemble using Bearly Art Precision Glue. For added interest Stamp Swatches (Heart Solid) onto the Wine Bottle using Versamark. Sprinkle Gold Embossing Powder and remove the excess. Heat set it with a Heat Tool. For added shine I diecut the tip of the wine bottle using Mirror Cardstock. Adhere the wine glasses and wine bottle to the card front using Bearly Art Precision Glue and tilt the second wine glass.
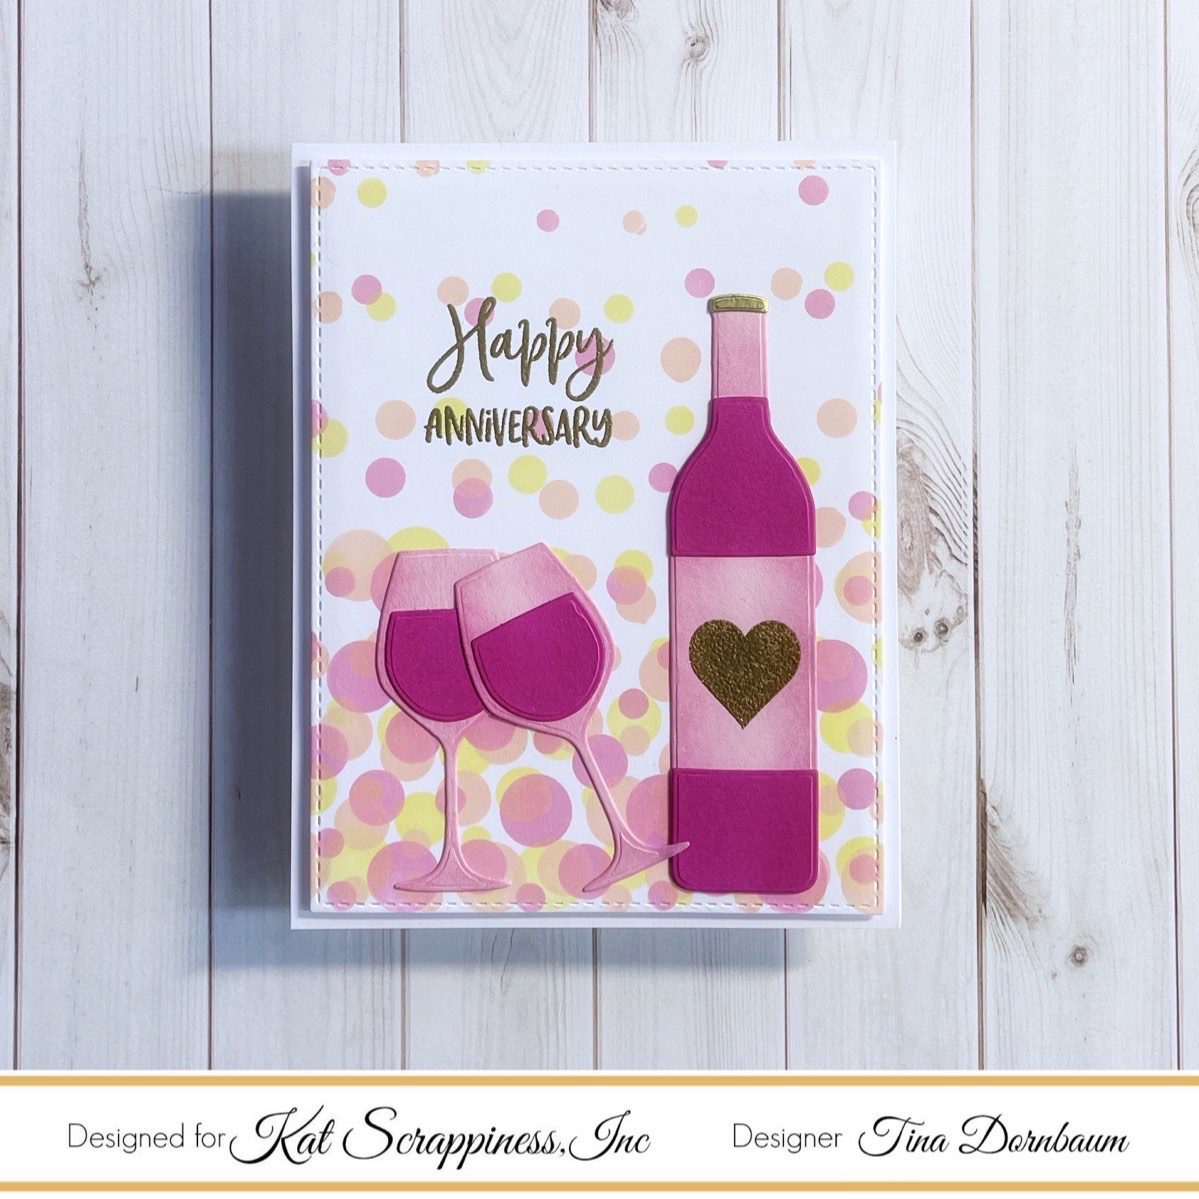
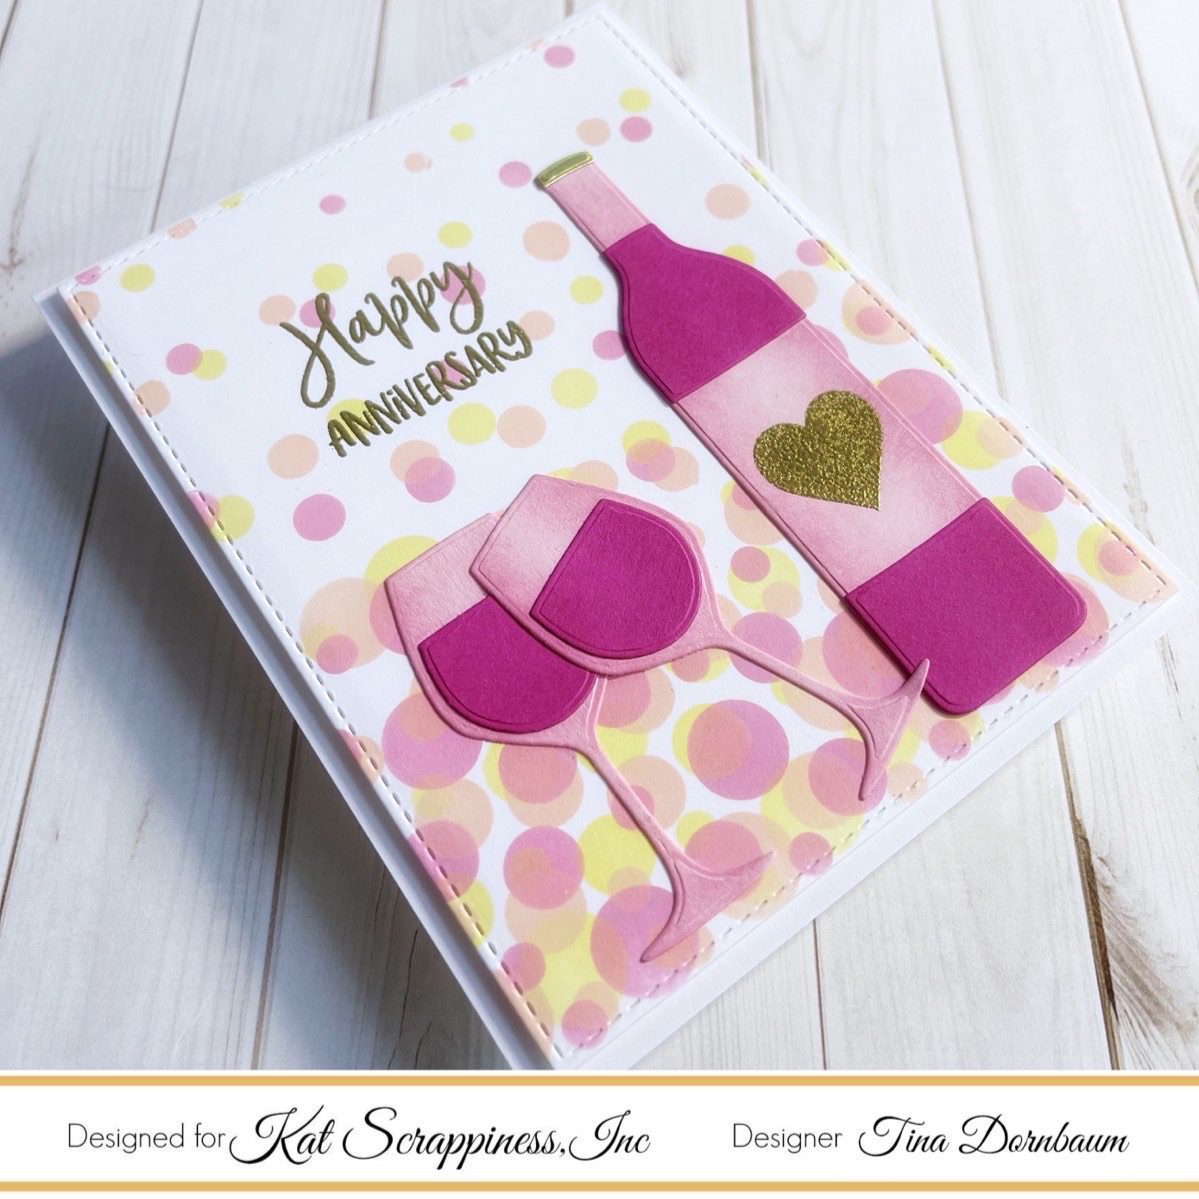
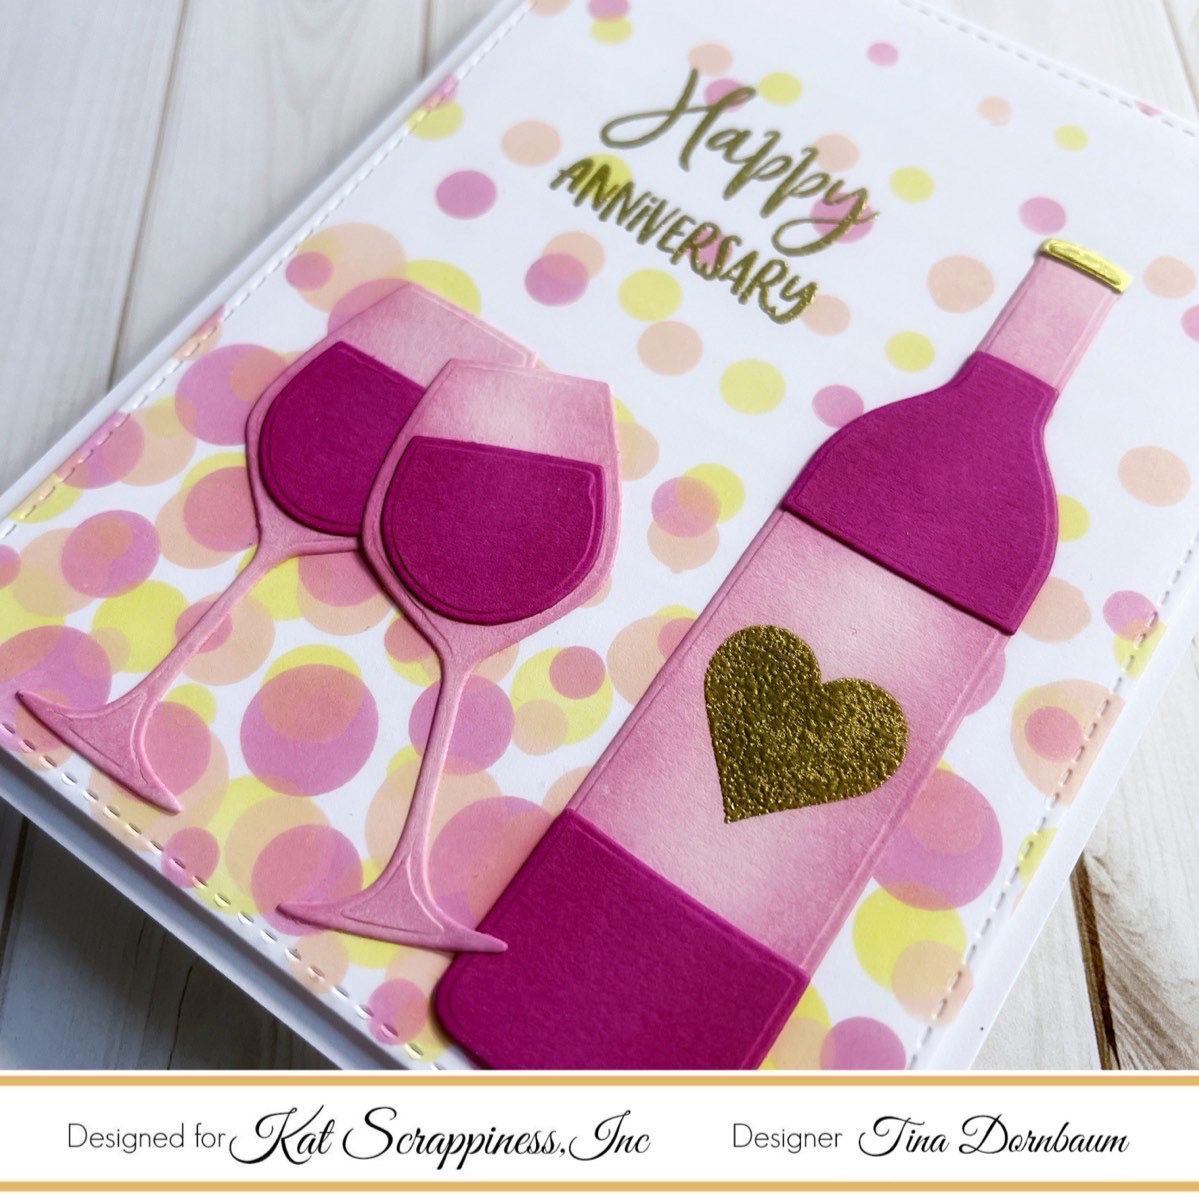
This card can be used for many occasions by changing the colors and/or sentiment. This card design is very versatile. Below is a link to all the products used. Thank you for stopping by and Happy Crafting.
Products Used: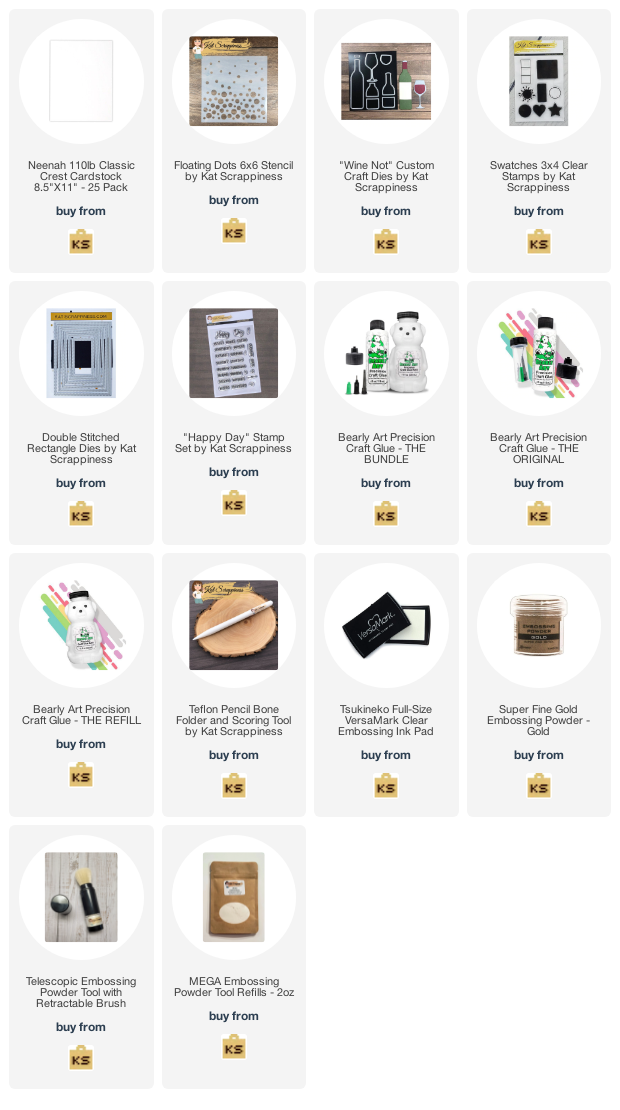
https://linkdeli.com/widget.js?id=f5e8378456858c916708

No Comments