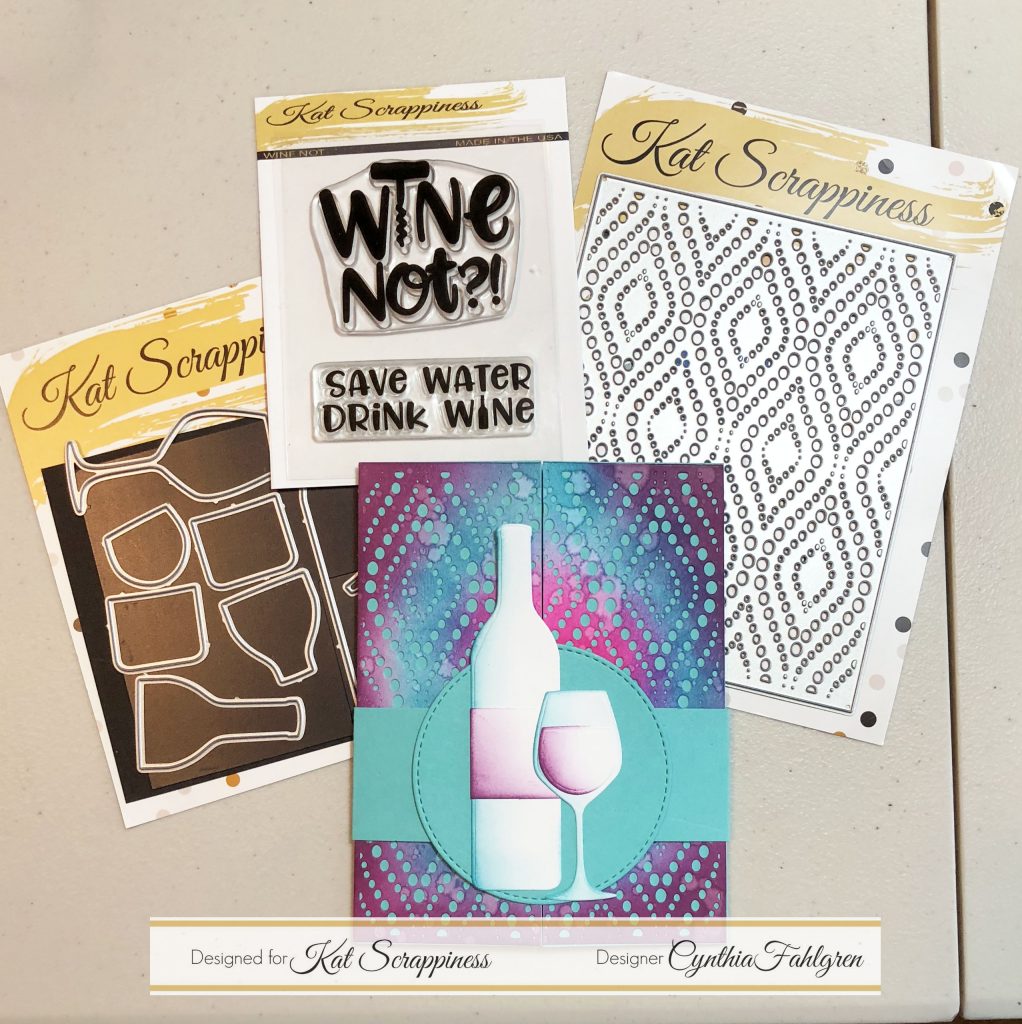
Good morning, crafters! Thank you for joining me today for my gate fold card project featuring some brand new items from Kat Scrappiness. In this card I used the Wine Not stamp set, the Wine Not dies, the Peacock Backdrop die, and one of the Double Stitched Circle dies. Let’s go ahead and walk through the steps I used to make this card project.
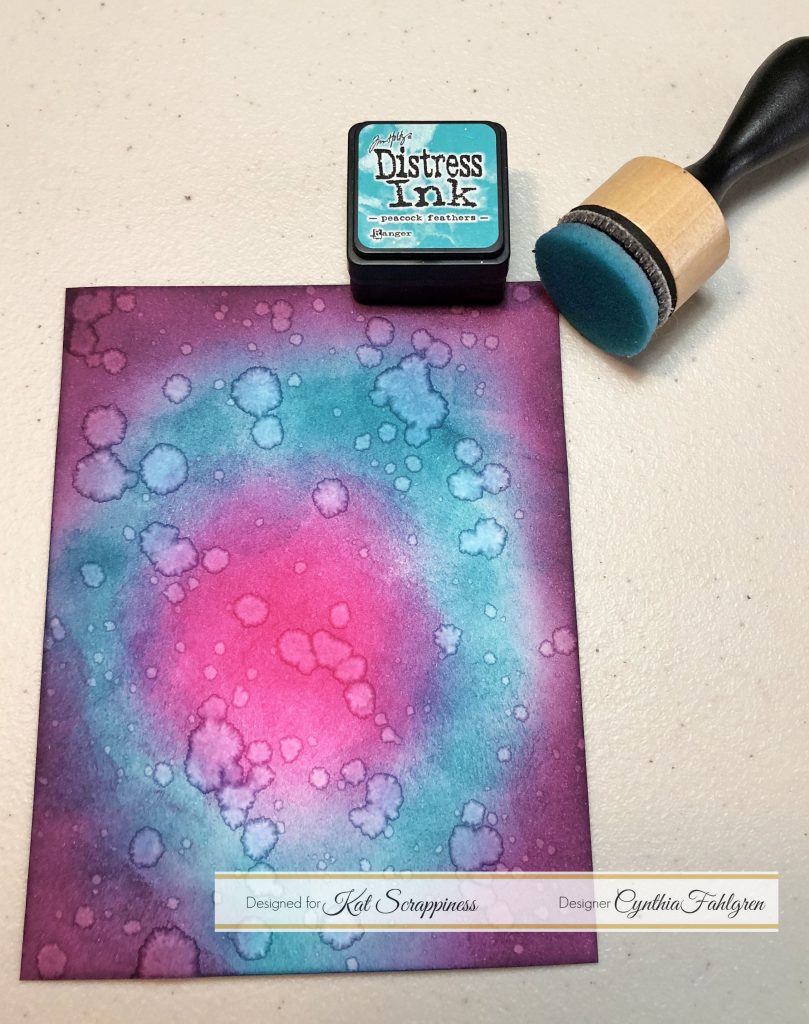
The first step was to create an ink-blended background panel. I used one of my favorite color combinations of Distress Ink in Picked Raspberry, Peacock Feathers, and Seedless Preserves. Although my edges aren’t perfectly smooth and flawless, I will be die cutting this piece so I know that the imperfections will disappear 🙂 I also spritzed just a bit of water on it because I love the look of it and simply couldn’t resist! Once the panel was completely dry, I ran it through my Big Shot with the Peacock Backdrop die, and then cut the panel lengthwise into two equal pieces.
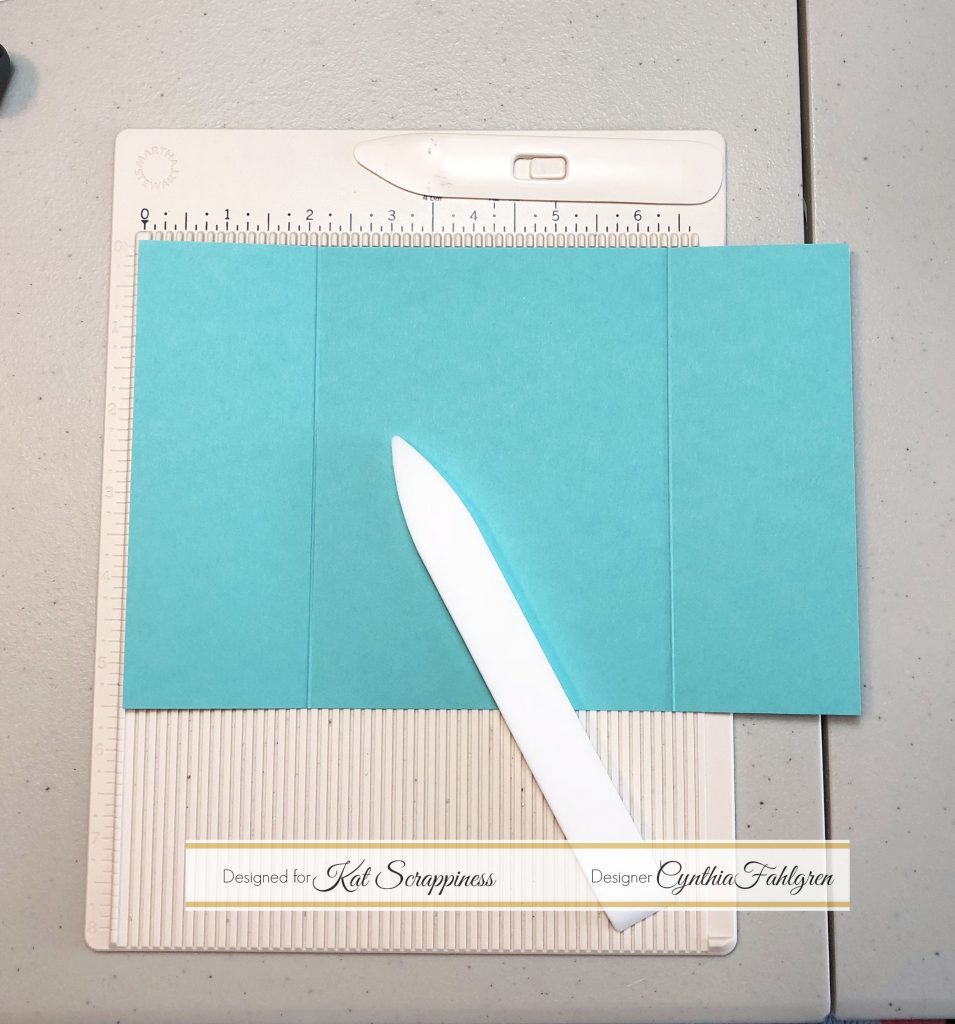
The second step was to create my gate fold card base, which is very easy to do. I simply cut an 8.5×11″ piece of card stock in half so that I have an 8.5×5.5″ piece. Then I scored a line at 2 1/8″ and another at 6 3/8.” You could also score once at 2 1/8″, rotate your piece around and score again at the same measurement – whichever you prefer. The idea is that you will have two flaps that fold over the front and meet neatly in the middle. I then attached the two ink blended panels from step one to the outside of the gate flaps.
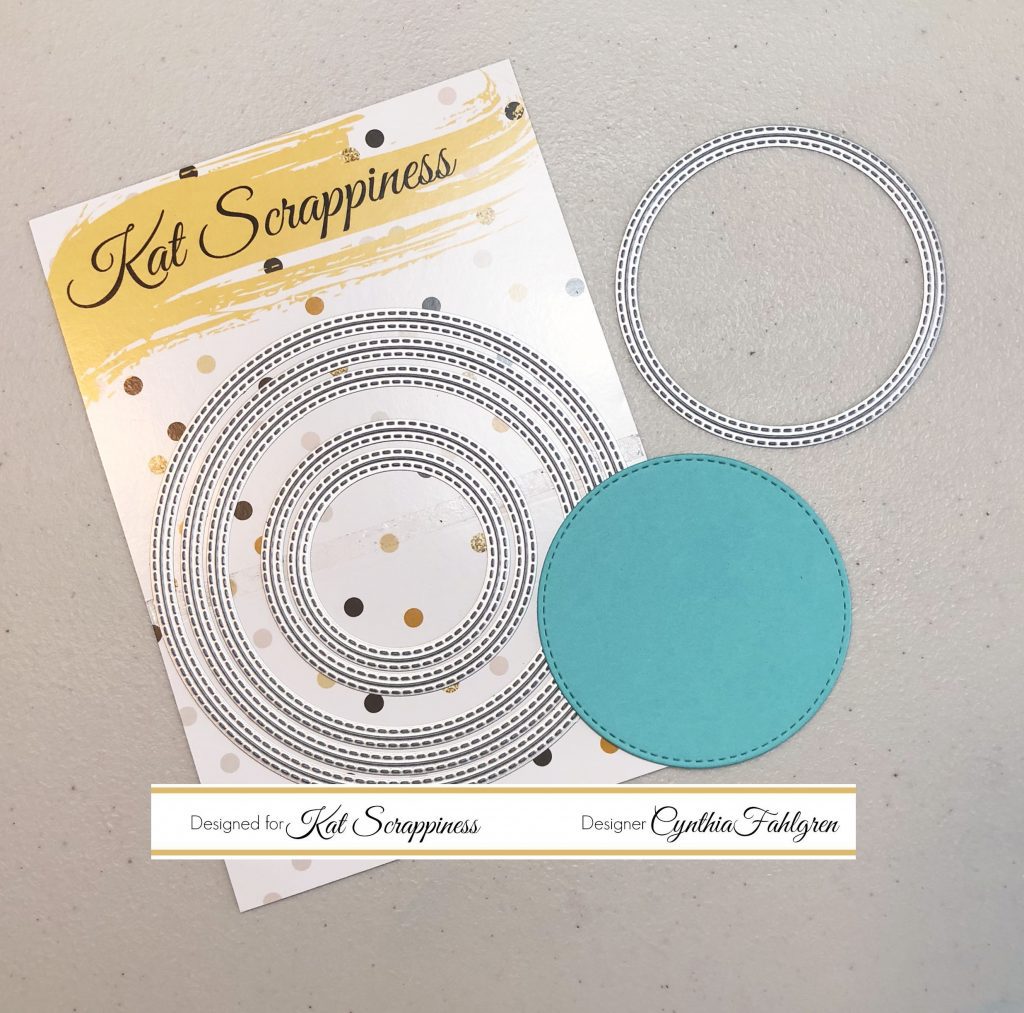
For the focal piece, I cut a circle of the same color card stock with one of the Double Stitched Circle dies. These dies are awesome – I particularly love the fact that you get a stitched line around the circle piece, and it also leaves behind a stitched line on the base piece (I save all of these to use in future projects.) I also cut a strip of card stock to 8.5×1.5″ which will fold around the card and be secured in the middle with this stitched circle. This will be my belly band to slide over the completed card and hold the gate closed.
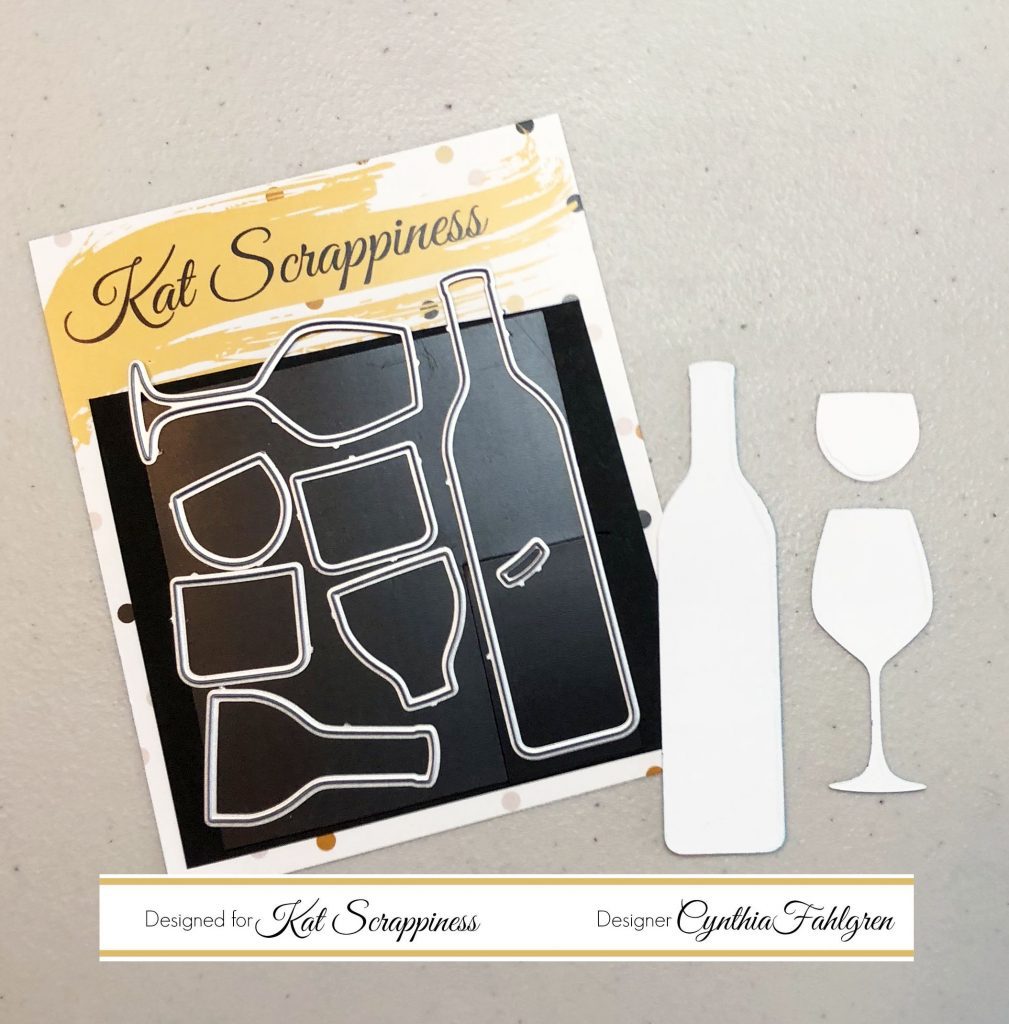
I used the Wine Not dies to cut out a little wine bottle, a wine glass, and the piece that makes the wine inside the glass. I just love these cute dies! They’re also a nice size – bigger than many other brands, which makes things SO much easier. I really hate fiddling with itsy bitsy pieces!
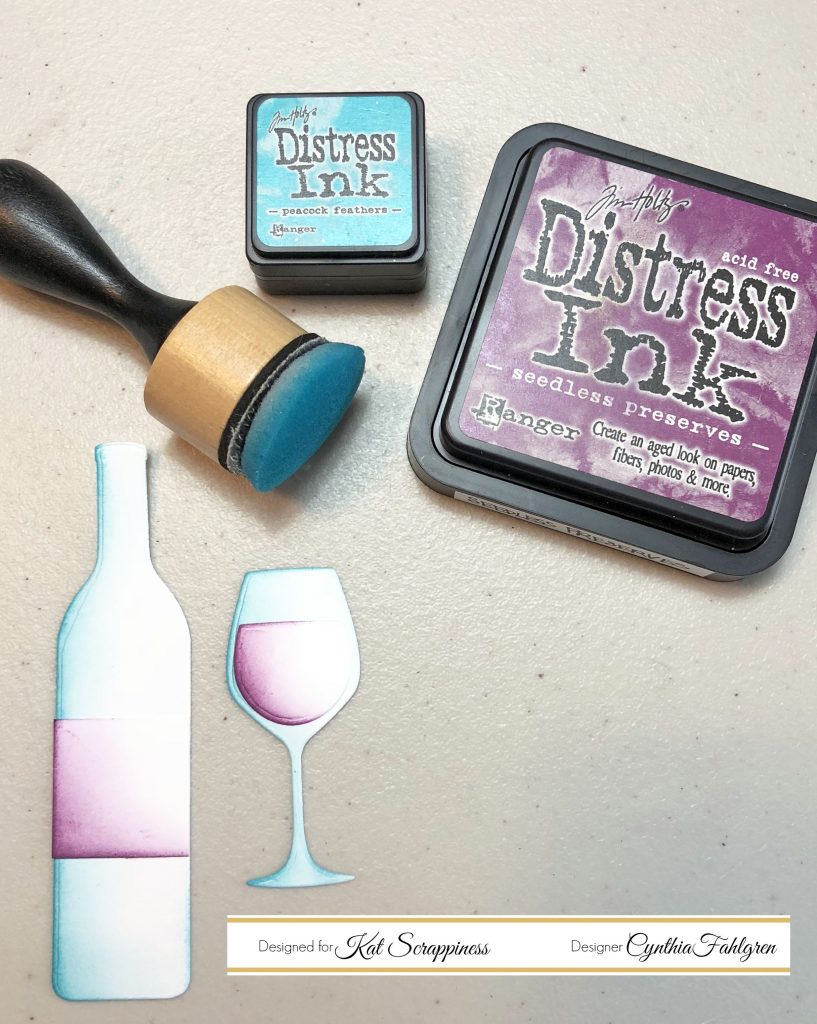
I decided to do some more ink blending on these pieces, and I am SO thrilled with how they turned out! I used the same Distress Inks in Seedless Preserves and Peacock Feathers, but only brushed against one edge and let it fade away to white. This gives such a soft look, especially against the more vibrant background panel and rich card stock color. I gave these pieces a moment to dry so they wouldn’t smudge, then attached them flat to my stitched circle. The circle was then attached to my belly band piece, and I made sure to check my spacing by sliding the band on and off my card base. You want your band to be fitted, but loose enough to slide easily.
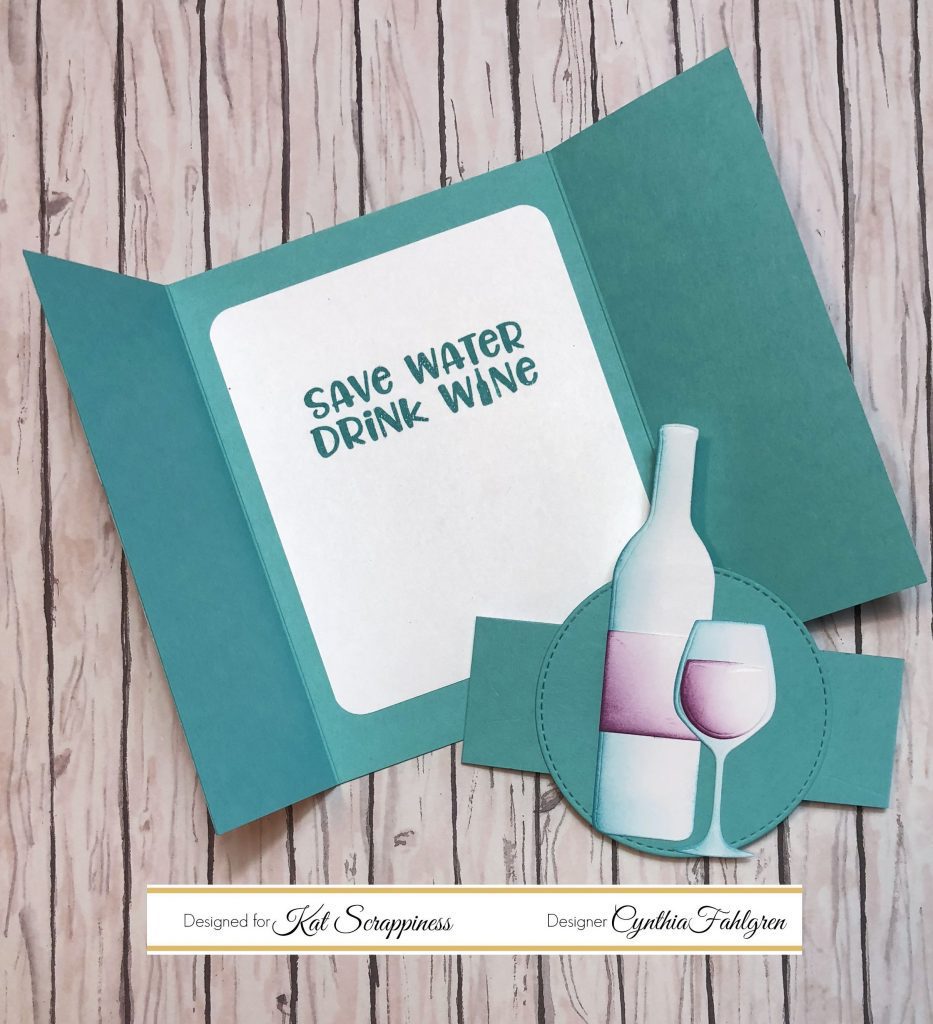
Whenever I used a colored card base, I like to insert a white panel on the card interior. I also decided to put my sentiment stamp from the Wine Not stamp set on this piece, using the same Peacock Feathers ink. Did you notice that the “i” in “wine” is a little wine bottle? Love this!!
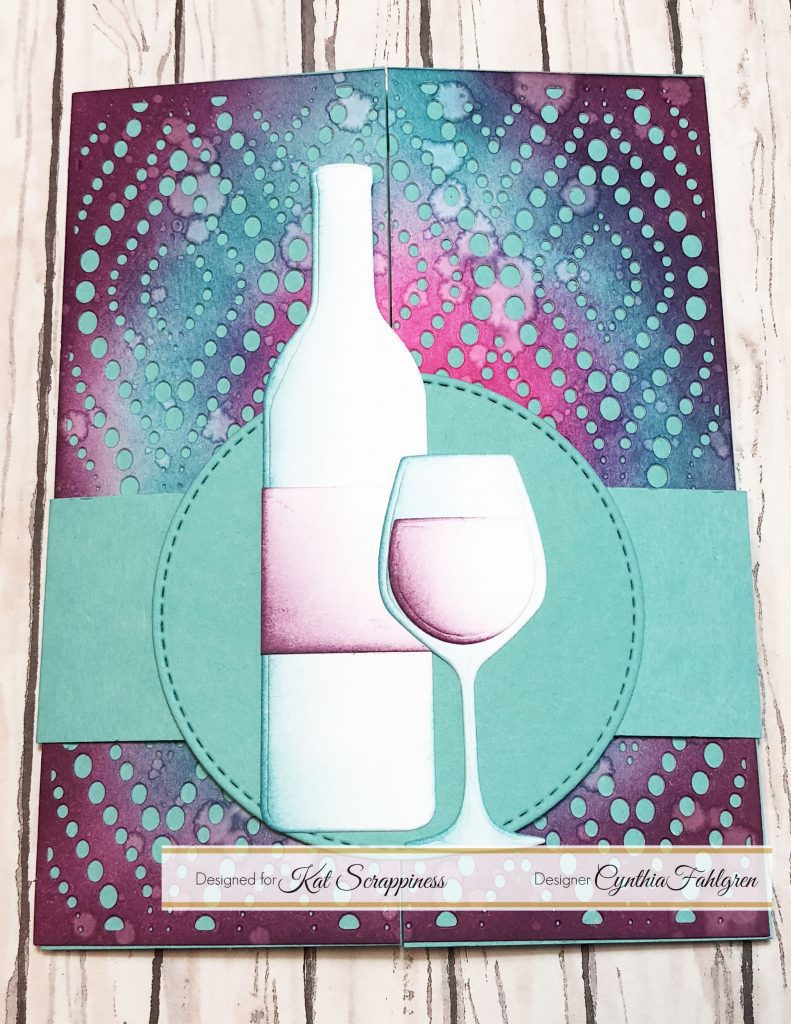
And here is my finished card! I am very happy with this one, and will have to send it to one of my wine-loving friends. I will also have to spend some serious time making backgrounds with the Peacock Backdrop die – it is absolutely gorgeous. If you ever struggle with what to do on a card front, I highly recommend that you get this die for yourself 🙂 I have included a shopping link below for the Kat Scrappiness website, and remember to use your discount code “CYNTHIA10” to save 10% off your entire purchase. See you next time with more Kat Scrappiness goodness!



No Comments