Hello, crafters! I hope that you’re all having a great morning today. And, as you know, great mornings start with one thing: COFFEE! There is nothing quite like wrapping your hands around a steaming mug of that dark magic, is there? Aaahhhhh…..
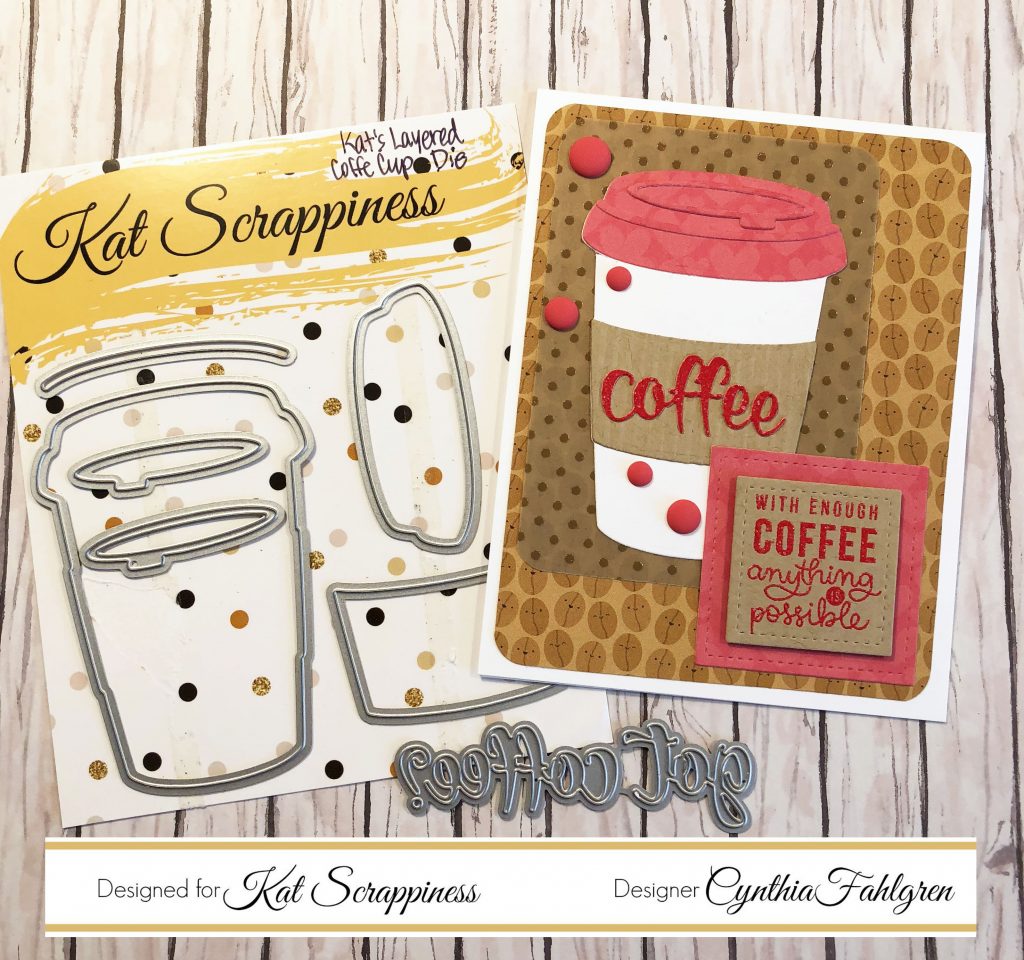
Okay, now that we’re all awake, let’s get this blog post rolling. If you’re anything like my family, one of the first gifts we give each other on pretty much any occasion is a nice Starbucks gift card. It’s so easy to grab one, and you know it’ll be appreciated, but you want to jazz it up a little bit. This is where your creativity can come out and play. In this project, I used the new Kat Scrappiness Layered Coffee Cup die set to create a fun gift card. The pieces nest together beautifully for flawless placement, and you can customize your cup to include your favorite colors or themes.
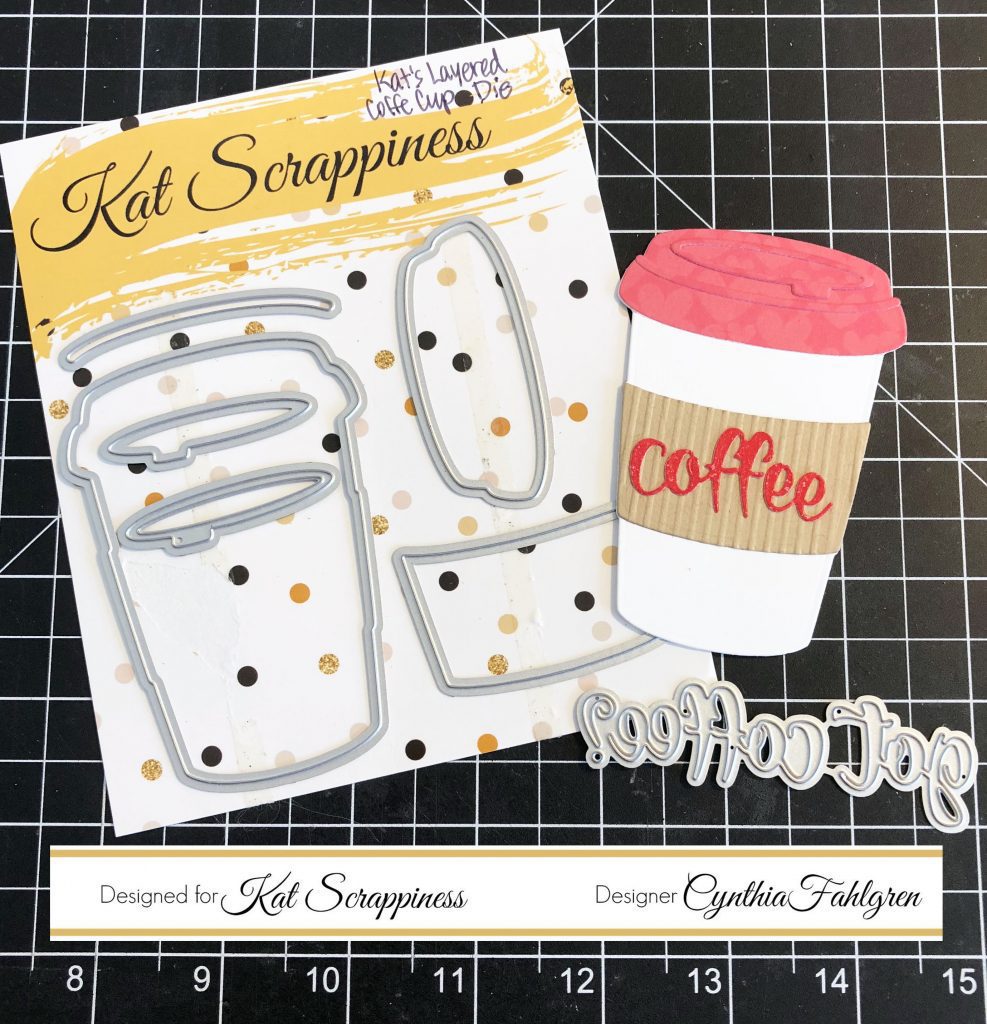
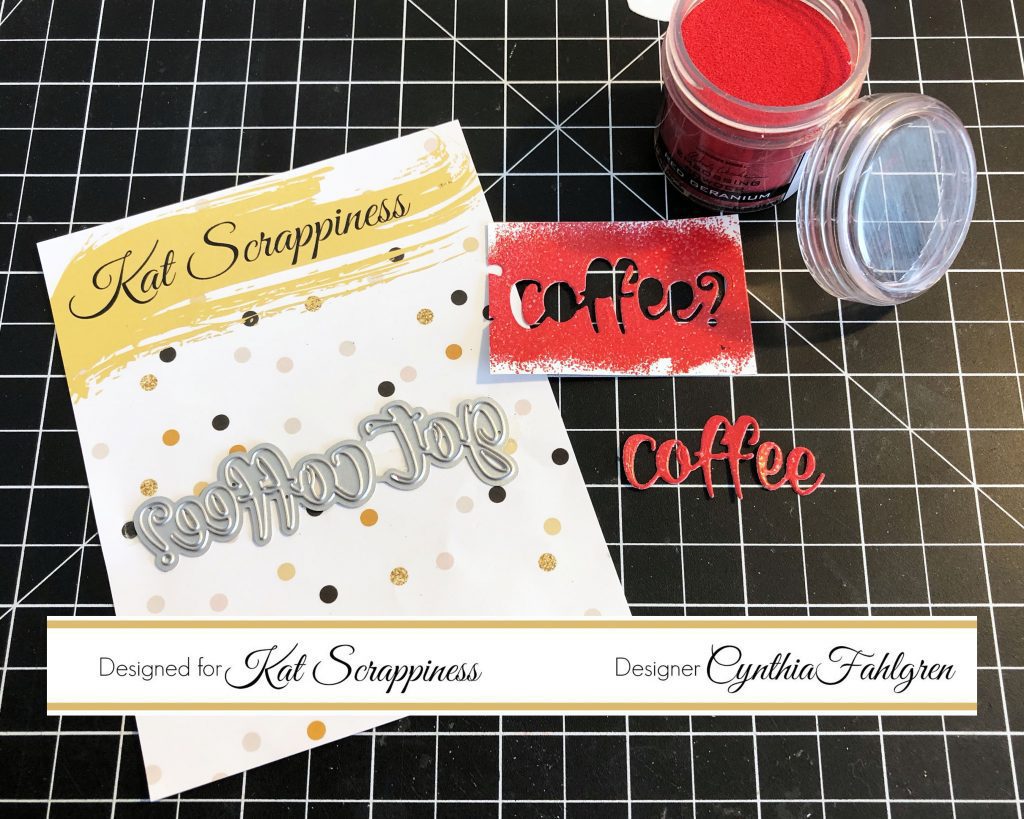
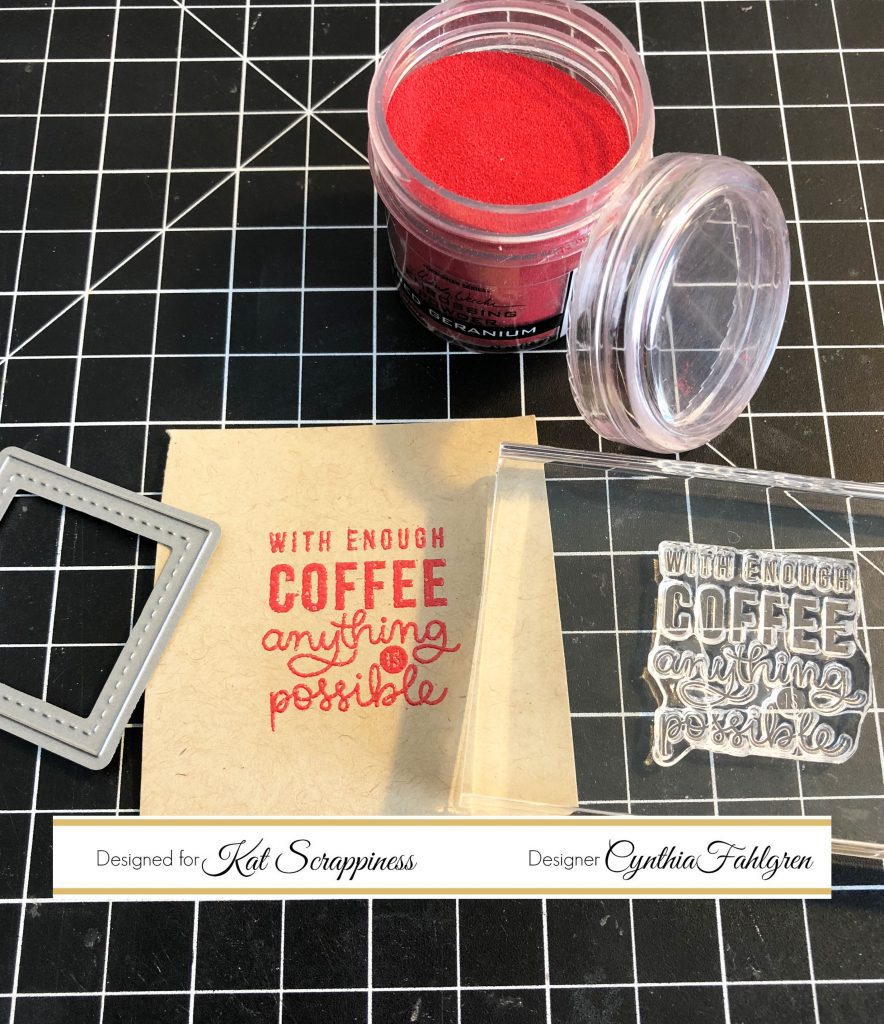
Since I was using a red patterned paper for the lid of my cup, I decided to add some red to my coffee sleeve using the new “Got Coffee?” die. I selected the lovely Red Geranium embossing powder and melted some on a scrap of card stock. The die cut through it perfectly! I didn’t even need to use a metal shim or anything 🙂
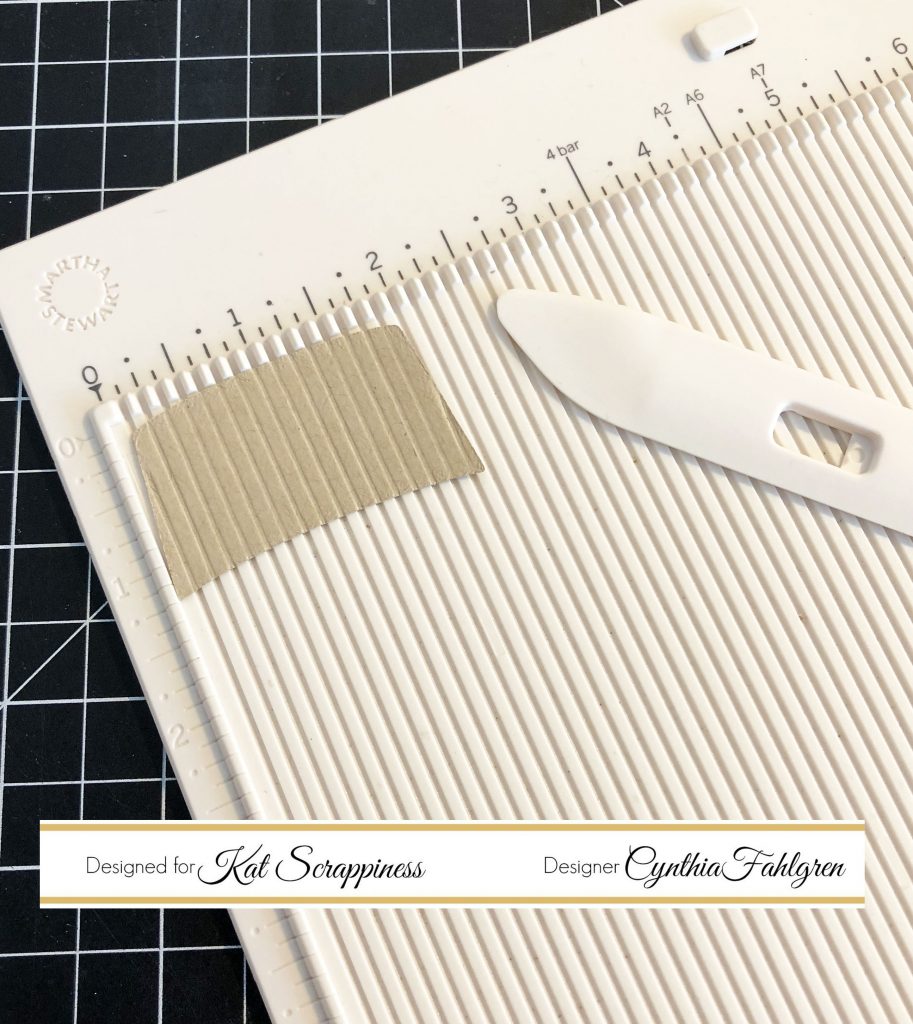
Another custom touch I wanted to add to my coffee cup was to make my sleeve look like corrugated cardboard. To achieve this I simply put my die cut sleeve facedown on my scoring board and carefully scored the paper at 1/8-inch increments. This is such a fun and easy way to add dimension to your projects, using a tool that most people already have on hand.
I found a cute stamp in my collection that says “With Enough Coffee Anything Is Possible,” and I thought this would be perfect for my project. I stamped it in VersaMark ink, then heat embossed with the same red embossing powder. I used my Lawn Fawn stitched square dies to cut out the craft paper and also a matting layer of the red paper. Even when using multiple papers and colors, it’s important to keep an element of consistency so that your final project looks complete.
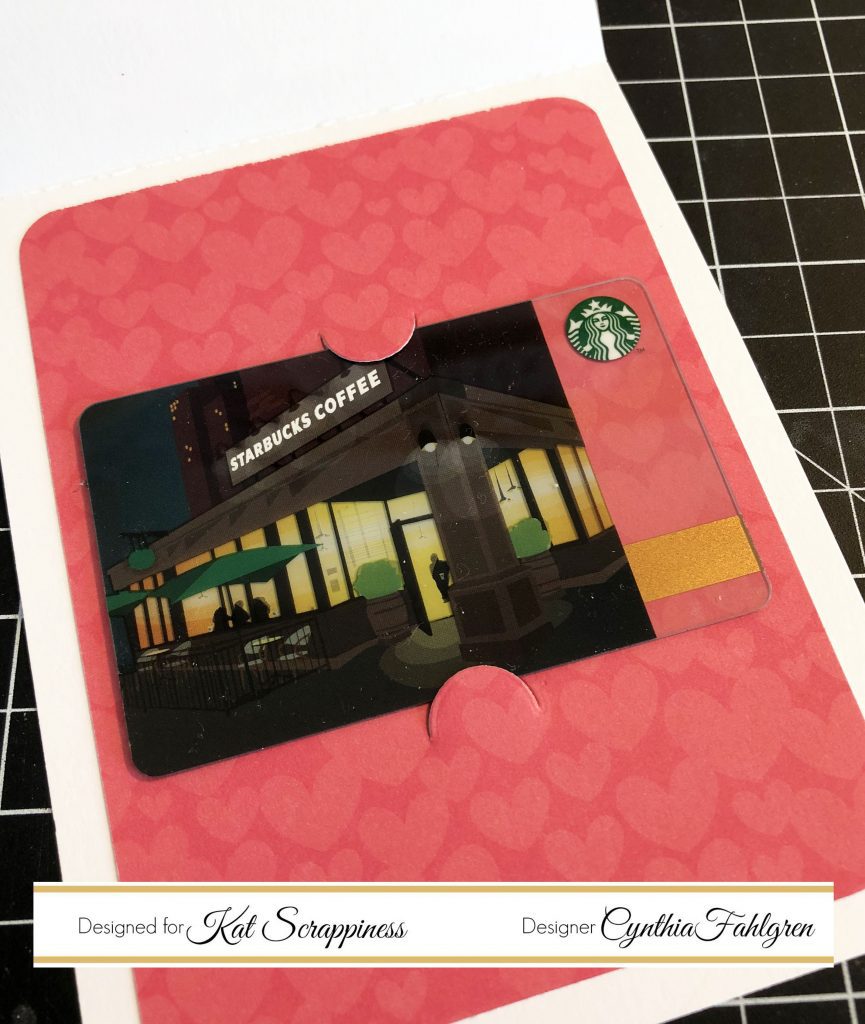
For the inside of the card, I cut a piece of the red paper to 3.75×5″ and rounded the corners, then added some tabs to hold my gift card. It makes the gift card instantly more attractive, don’t you think? 😉
Now to finish the front of the card and bring it all together. I took the red heart patterned paper from Doodlebug’s “Cream & Sugar” collection, so I pulled a coffee bean paper and a dotted vellum paper from the same collection for my layers, rounding the corners as before. Once I had everything in place, there was just something missing. Sprinkle dots to the rescue! These dots are from the same Doodlebug collection and have a nice matte finish – they really helped give this card a little life.
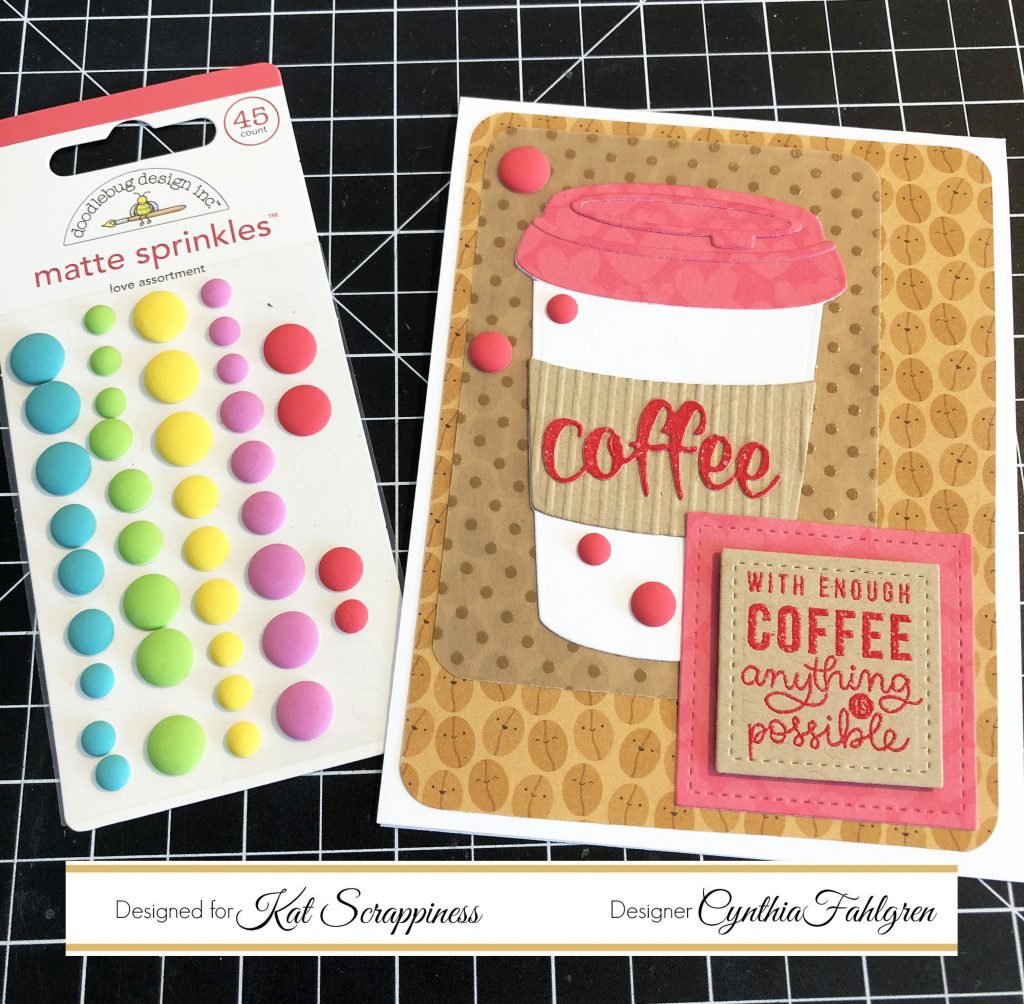
And that’s the card project for today! I really hope that you enjoyed this, and got to see how much fun the new Layered Coffee Cup and Got Coffee? dies are. Take a look at the other blog posts featuring these dies, as well as the other new items. The designers are really blowing me away with their beautiful creations this month! Take care of yourselves, and I’ll see you again soon with another project.

No Comments