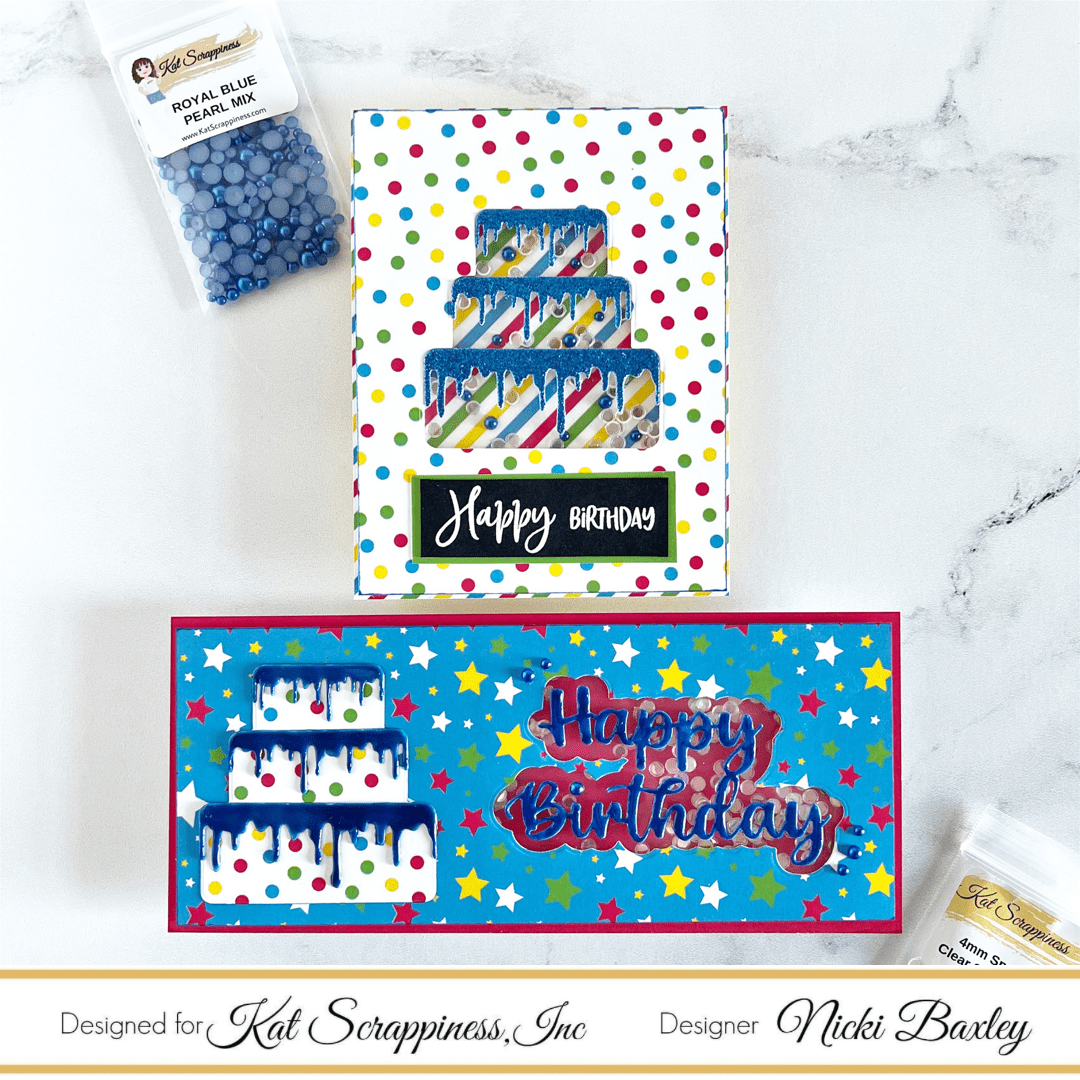
Hi, I’m Nicki with the Design Team. Today, we are going to look at not wasting your die cuts. I will take you through the card process for 2 different cards with a way to use the negative space and the die cut piece. All of the details will be in the YouTube video so make sure to check it out.
First, let’s start with the Birthday Essentials paper pack and die set.
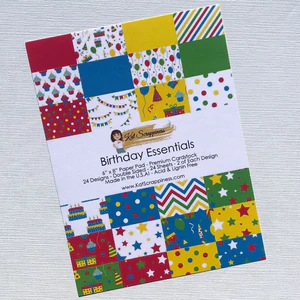
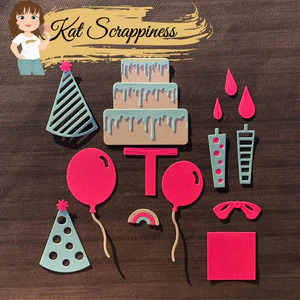
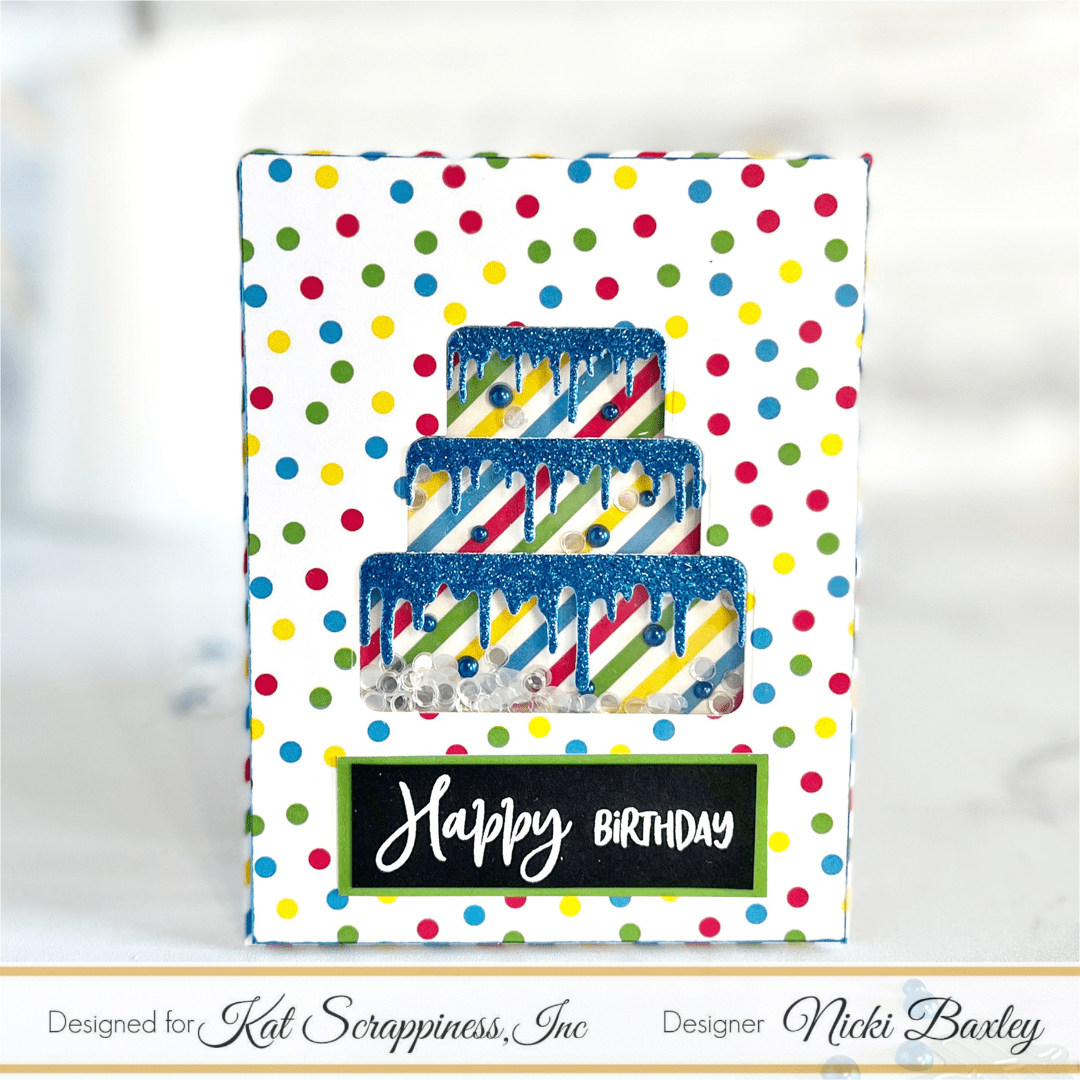
I used the cake die from the set and several coordinating pieces of paper. First, I cut the cake shape from an A2 sized piece of patterned paper. I saved the cake and will work with the negative space first. I added acetate to the back of the negative space. Next, I added foam tape to make a shaker window.
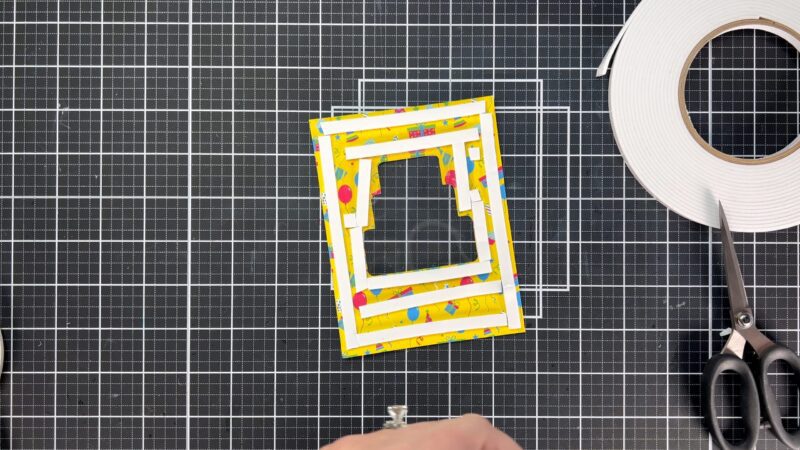
Now, it was time to add a little pizzaz to the cake frosting with some glitter paste. I cut the icing pieces out and attached them to the front of the shaker window.
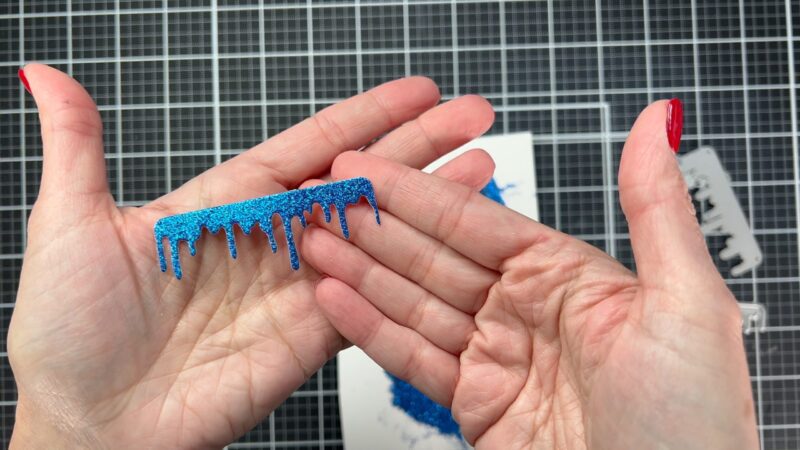
All that is left for this card is to add the shaker pieces and attach a sentiment.
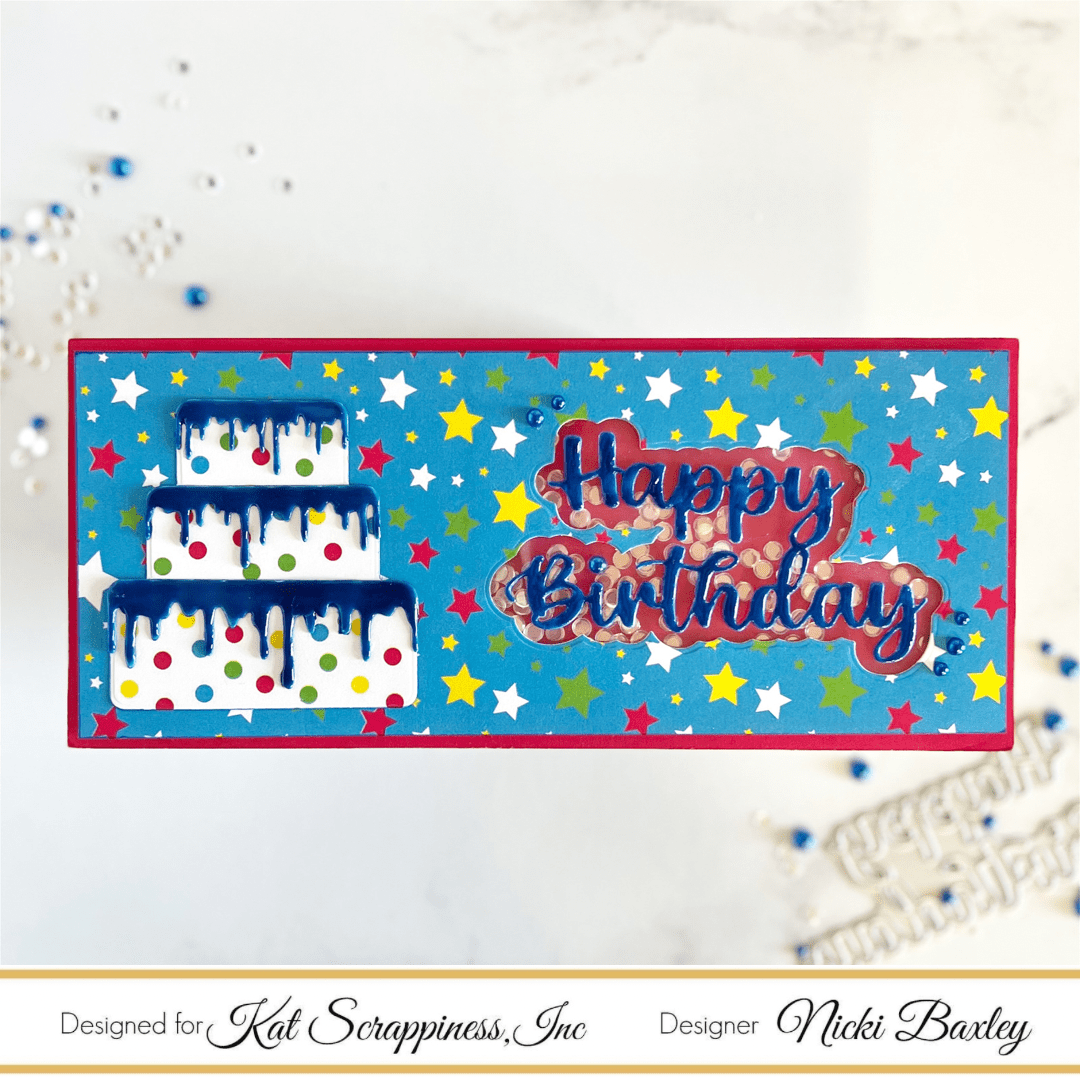
For the next card, I chose to make a slimline with the birthday essentials pack. I now need to decorate the icing for the cake that we previously cut out. I used Nuvo Drops in a bright blue. Once I have the cake together, I decided to make the sentiment a shaker piece.
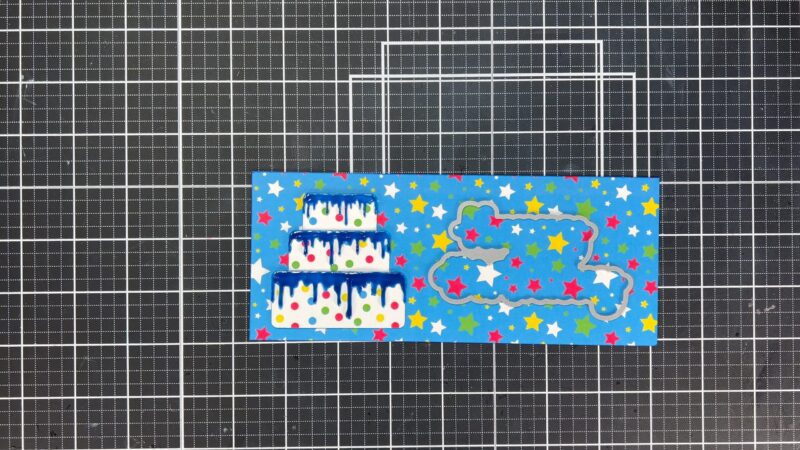
Using a shadow die for a shaker window is so fun! For the sentiment, I colored the white card stock with a blue Copic marker and added Nuvo drops in blue.
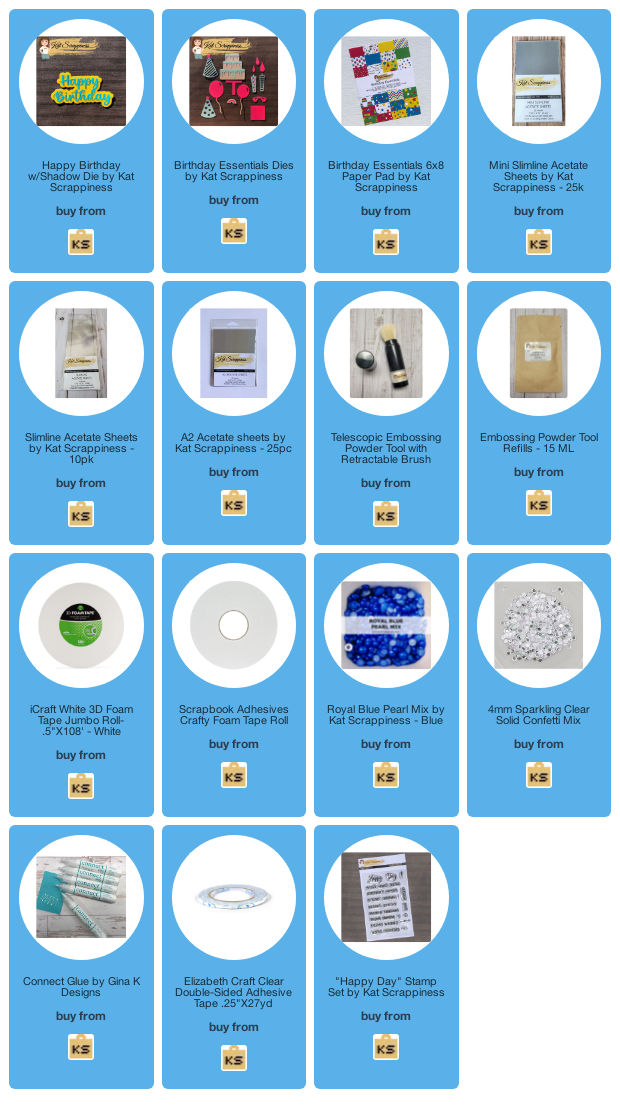
Make sure to click on the links in the supply list if you are interested in any of the products! This doesn’t cost you anything but provides a small commission to me. I appreciate your support so much!!


No Comments